LearnDash and Elementor work well together when you use each tool for the right job. LearnDash should handle the course structure, lessons, topics, quizzes, enrollments, and student progress. Elementor should handle the page design and templates.
That separation keeps your course site easier to manage. You build the learning content in LearnDash, then use Elementor to make the course pages look clean, branded, and beginner-friendly for students.
In this tutorial, I will show you how to set up a course website using LearnDash and Elementor without making the site harder to maintain later.
Table of Contents
What You Need Before Starting
- A WordPress site with reliable hosting and SSL.
- LearnDash LMS installed and activated.
- Elementor installed. Elementor Pro is recommended when you want Theme Builder templates.
- The LearnDash Elementor add-on, which adds LearnDash widgets for Elementor.
- Your course outline, including modules, lessons, topics, quizzes, and downloads.
If you are still setting up the website itself, you may want to start with our beginner WordPress setup guide and then come back to this tutorial.
Step 1: Install LearnDash, Elementor, and the Add-On
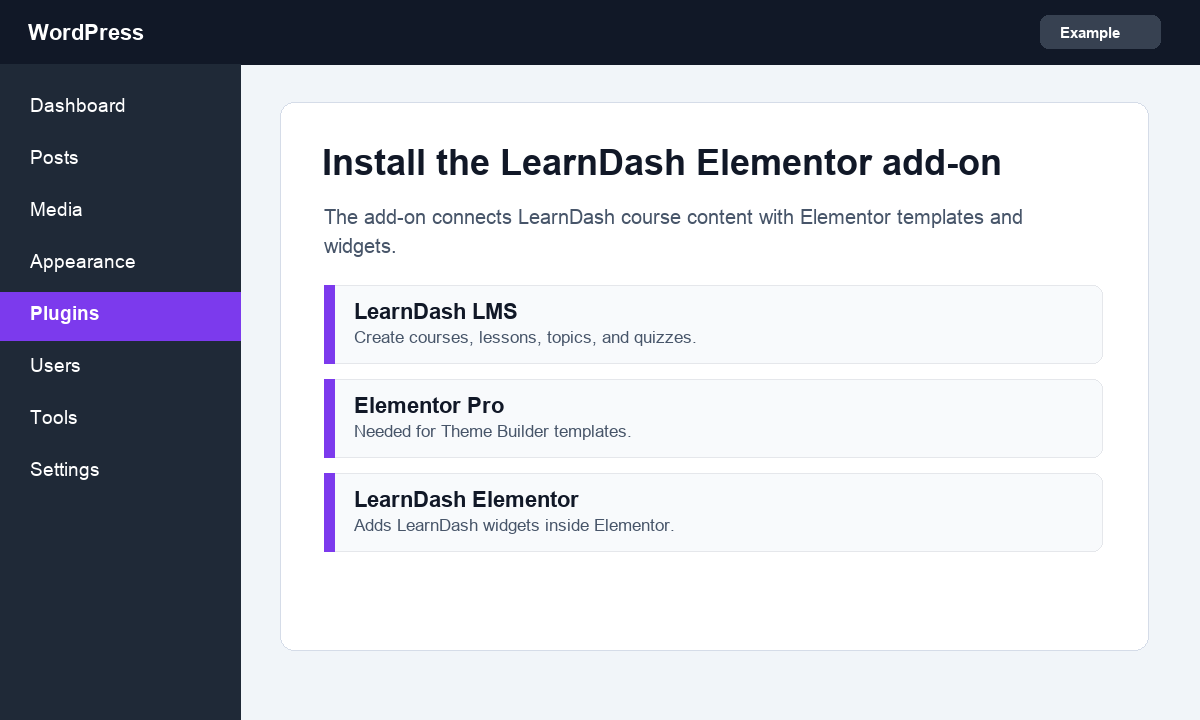
The LearnDash Elementor add-on connects LearnDash content with Elementor widgets and templates. According to the LearnDash Elementor add-on documentation, the setup requires LearnDash LMS, Elementor, Elementor Pro for Theme Builder templates, and the LearnDash Elementor add-on.
- Install and activate LearnDash LMS.
- Install and activate Elementor.
- Install and activate Elementor Pro if you want to build reusable templates.
- Install and activate the LearnDash Elementor add-on.
- Refresh the dashboard so the new Elementor widgets are available.
If you already use a page builder-heavy theme, test this on a staging site first. Course pages can get messy when too many layout systems are trying to control the same template.
Step 2: Create Your Course Structure in LearnDash
Do not start with design. Start with the learning structure. A beautiful course page will not help if students cannot understand the path through the course.
- Go to LearnDash LMS > Courses.
- Create a new course and add the course title, description, and featured image.
- Add lessons for the main sections of the course.
- Add topics inside lessons when you need smaller learning steps.
- Add quizzes only where they actually help students check their understanding.
Keep lesson names simple. For example, use titles like “Install WordPress,” “Choose a Theme,” and “Publish Your First Lesson” instead of clever titles students have to decode.
Step 3: Decide How Elementor Should Handle LearnDash Content
There are two common ways to use Elementor with LearnDash. You can design individual course pages directly, or you can create global templates that apply to all courses, lessons, topics, and quizzes.
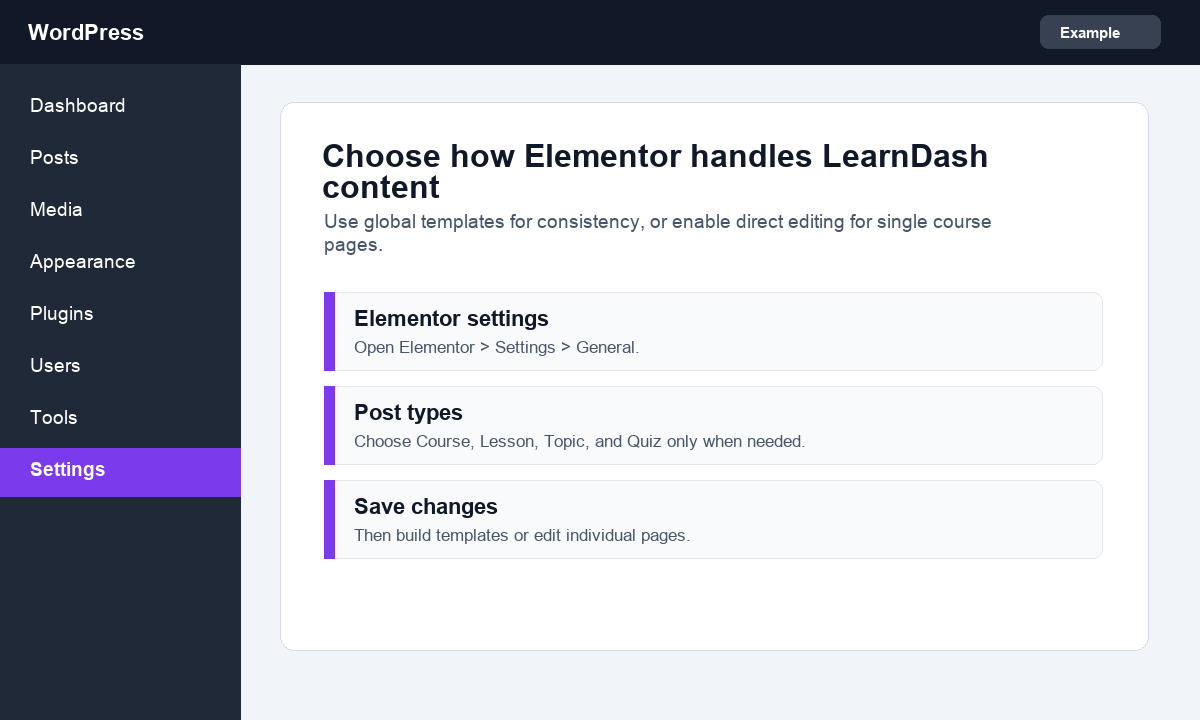
For most course websites, I recommend global templates. They keep the design consistent and save you from editing every lesson one by one.
- Use direct editing if you want one specific course page to have a custom Elementor layout.
- Use Theme Builder templates if you want every course, lesson, topic, or quiz to follow the same design.
- Do not mix both approaches too much, or you may forget where a design change is coming from.
Step 4: Build a LearnDash Course Template in Elementor
Now create the main course template. This is the page students see before or after enrolling, depending on your course access settings.

- Go to Templates > Theme Builder in WordPress.
- Create a new template for LearnDash courses.
- Add a clear course title near the top.
- Add the LearnDash course content or course grid widget so students can see lessons.
- Add the course infobar, enrollment button, or progress information where it helps the student.
- Publish the template and set the display condition for LearnDash courses.
Keep the course template focused. Students should quickly understand what the course is, what they get, and where to click next.
Step 5: Create Lesson and Topic Templates
After the course template, build templates for lessons and topics. These pages should be even cleaner because students are there to learn, not browse a sales page.
- Add the lesson title and main content near the top.
- Keep navigation to the next lesson easy to find.
- Avoid oversized banners that push the actual lesson content too far down.
- Use a simple sidebar only if it helps students move through the course.
- Check for duplicate LearnDash content if both LearnDash and Elementor are inserting the same elements.
If you make a design mistake while building in Elementor, our guide on how to undo in Elementor can save you a lot of time.
Step 6: Add the Important Course Pages
A course website needs more than course content. Add the support pages students expect before launch.
- Course catalog or courses page.
- Login page for students.
- Account or dashboard page.
- Checkout page if you sell paid courses.
- Contact or support page.
- Terms, privacy, and refund policy pages if you sell courses.
If you sell courses, keep the checkout flow simple. Too many popups, upsells, or distractions can reduce trust, especially for first-time buyers.
Step 7: Preview the Student Experience
Before launch, test the course as more than one type of visitor. This is where you catch broken enrollment buttons, hidden lessons, confusing navigation, and mobile layout problems.
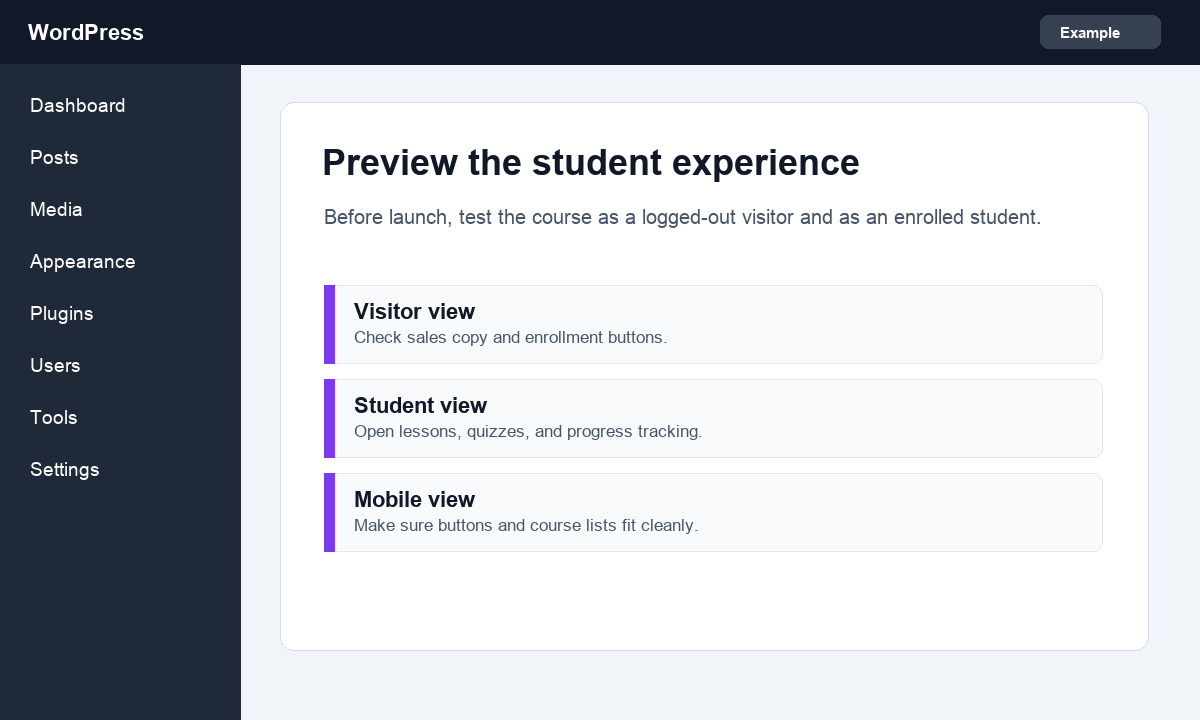
- Open the course page while logged out.
- Check the enrollment or purchase button.
- Log in as an enrolled student.
- Open lessons, topics, downloads, and quizzes.
- Check the course on mobile.
- Complete a small test quiz and confirm progress tracking works.
After the course design is ready, do not forget speed. Course sites can become heavy, so our WordPress speed guide is worth checking before launch.
Summary
The best way to build a course website with LearnDash and Elementor is to keep responsibilities clear. LearnDash manages the course system. Elementor designs the templates. Your job is to make the student path simple, consistent, and easy to follow.
Start with the course structure, then build course, lesson, and topic templates. Finally, test the site as a visitor and as an enrolled student before sending real people to it.
FAQs
Do I need Elementor Pro for LearnDash?
Elementor Pro is recommended if you want to use Theme Builder templates for LearnDash courses, lessons, topics, and quizzes. Elementor free can still help with normal page design, but templates are the cleaner setup for a full course site.
Should I design every LearnDash lesson separately?
Usually no. Use reusable templates for lessons and topics so the course stays consistent and easier to update.
Can I sell LearnDash courses with Elementor?
Yes. LearnDash handles course access and enrollment, while Elementor can design the sales and course pages. Your checkout setup depends on the payment or membership tools you use.
Why are LearnDash elements showing twice on my page?
This can happen when LearnDash and Elementor both insert the same course content. Check your template widgets and LearnDash display settings, then remove the duplicate element.
What should I test before launching a course website?
Test the visitor view, enrollment flow, payment or checkout, student login, lesson access, quizzes, progress tracking, emails, and mobile layout.
Subscribe to our Monthly Newsletter
Get monthly updates of WordPress tips, tricks, and tutorials in your email.
Thanks. You have successfully subscribed.