The control panel is a key part of any web hosting service, but it’s not something that’s often discussed or iterated upon.

In fact, nearly every hosting control panel has looked the same for many years—and if you’re like me, you can’t help but feel like the whole industry is stuck in 2002.
Fortunately, some companies are beginning to break the mold, offering new interfaces built for the modern world.
One such company is SiteGround, which has replaced its old interface with Site Tools, a new custom control panel that is not only intuitive but truly feels like something built this decade.
In this article, we’ll take a close look at SiteGround’s “Site Tools” control panel to give you an idea of exactly what it has to offer.
Does SiteGround Use cPanel?
SiteGround no longer uses cPanel as its account management software. Instead, SiteGround customers now use “Site Tools,” a proprietary interface that performs many of the same functions while offering deeper integration with SiteGround’s platform.
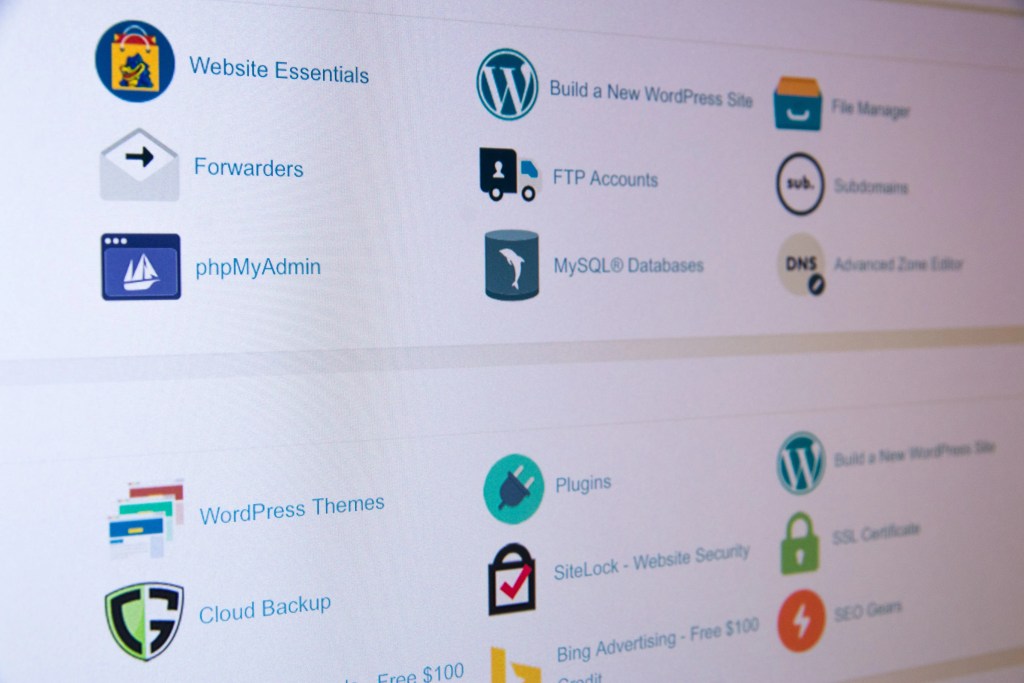
cPanel is a ubiquitous control panel that has long been the industry standard for backend server management, handling tasks like managing databasesA database is an organized collection of data stored and accessed electronically. It is a crucial component of… More, creating subdomains, adding FTP accounts, and monitoring resource usage. If you have experience managing Linux-based hosting accounts, you’re likely quite familiar with cPanel:
People love cPanel for two primary reasons:
- It’s powerful. You can really get into the weeds and manage all aspects of your server and your websites, without spending all day in the command line.
- It’s familiar. When nearly every web host in the industry uses the same control panel software, there’s no learning curve when switching to a new host.
Of course, these characteristics can be a double-edged sword.
For all its power, cPanel can be a bit overwhelming for those who just want to build a simple website and don’t want to play sysadmin.
Similarly, cPanel’s familiarity is really only a perk for those of us who have been at this for a while. When I say the industry is stuck in 2002, cPanel is exactly what I’m talking about.
Aside from the vintage interface, the process of accessing cPanel from within a hosting account is almost invariably clunky and unintuitive. Even with custom skins, cPanel tends to feel a bit detached from the rest of the user experience.
The question, then, is whether SiteGround’s Site Tools can offer the same powerful functionality for the pros while providing a more streamlined and modern user experience overall—not just for beginners, but for everyone.
We’ll attempt to answer that question by giving you a first-hand look into SiteGround’s platform.
A Tour Of SiteGround’s Client Area & Site Tools
Let’s take a closer look at SiteGround’s new client area and Site Tools control panel.
Here’s a view of the main client area as it appears when you first log in:
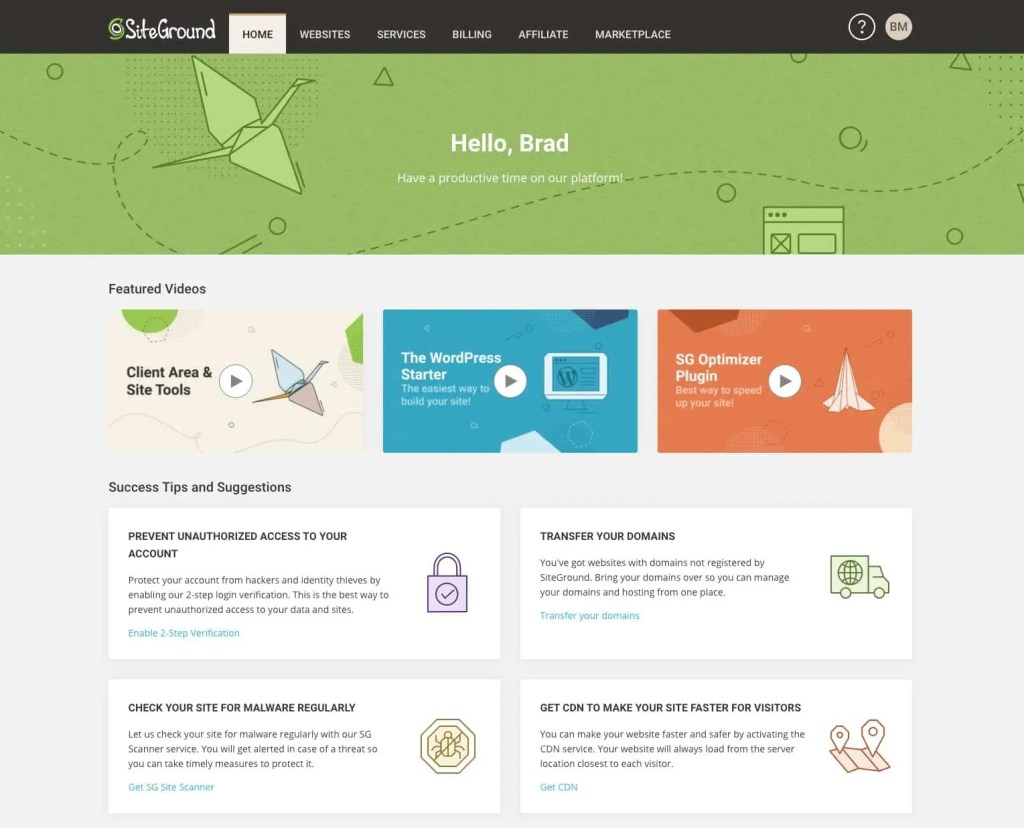
You’ll notice the client area is divided into several sections:
Websites
The “Websites” section is where you’ll spend most of your time as a SiteGround user.
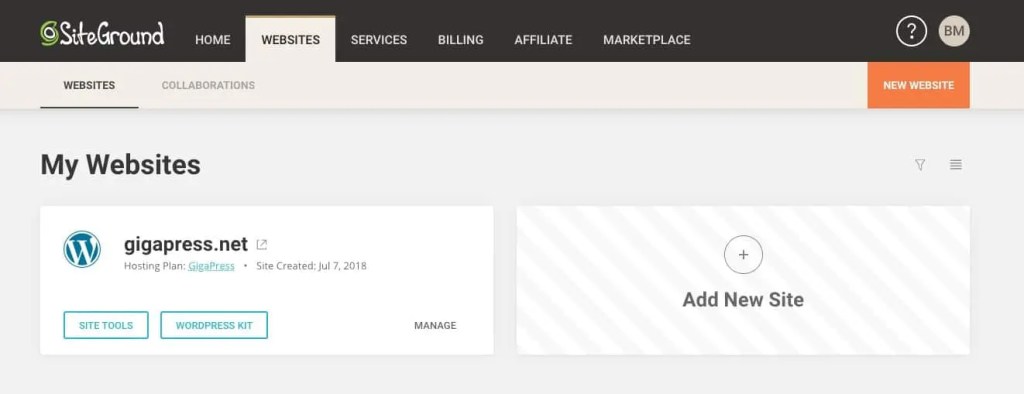
This is also where you’ll notice the first major difference between SiteGround and a cPanel-based hosting service.
In cPanel, you have domains, file directories, databases, and so on, but these are all separate components that aren’t really bound together in an intuitive way. SiteGround, on the other hand, presents your website as a cohesive whole. This feels a bit different for those of us accustomed to using cPanel, but it makes a lot of sense.
Under each website, you’ll have the option to open the Site Tools control panel, as well as the WordPress Kit (if your site is powered by WordPress). The WordPress Kit allows you to quickly jump to tools like SiteGround’s caching tool, autoupdate, staging, and on-demand backups.
It’s also worth mentioning the “Collaborations” tab at the top of the Websites section. This area allows you to collaborate with other users on a single site—so you don’t have to share your login credentials. You can add users to your sites with specific access rights, and their activities are logged for full accountability.
How to access Site Tools?
There are several ways you can access site tools. For the first method, follow these steps:
- SiteGround Client Area.
- Go to Websites and choose your preferred site.
- Select Site Tools.
You can also use your login credentials to access Site Tools directly.
- Go to tools.siteground.com.
- Log in using your SiteGround Client Area username and password (you can view these credentials in the Login & Profile menuIn WordPress, a menu is a collection of links that are displayed as a navigation menu on a website. Menus are … More).
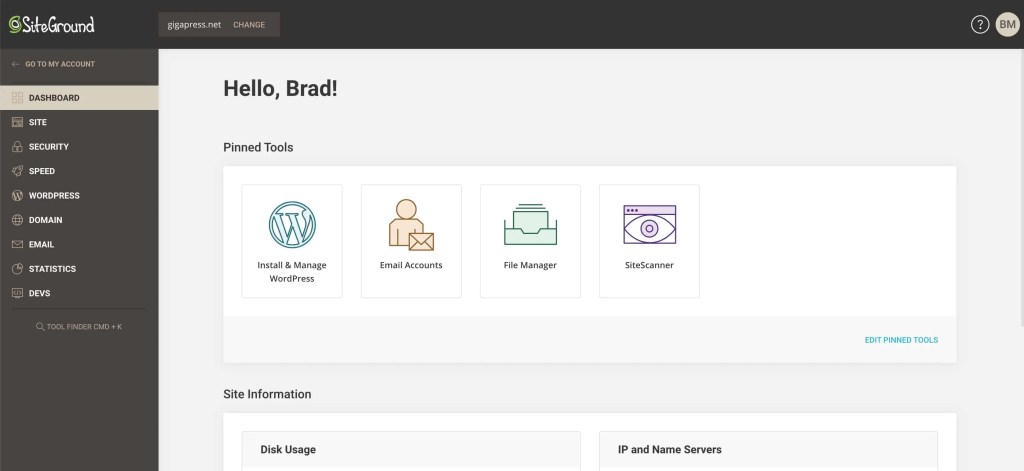
Upon entering the Site Tools interface, you’ll be met with the dashboardIn WordPress, the Dashboard is a central hub for managing a website’s content and settings. It is the first sc… More above.
Do I need to Log In to Create a Site if I Don’t Have Any Active Sites?
Yes, you need to log in to your account in order to create a site if there are currently no active sites.
What Do I See in the Site Tools Dashboard if I Have no Active Sites?
You will see a message indicating that there are no active sites and suggesting that you log in to create one.
What Can I Do in the Dashboard of My Website’s Site Tools?
One useful section in your dashboard is ‘Pinned Tools.’ You can use this to customize a short list of frequently-used tools that you want to be able to access quickly. Look below it, and you can review basic site information (disk usage, IP and name servers) and traffic stats.
The left sidebar provides access to all of the other administrative tools similar to the backend menu of WordPress. This comprehensive dashboard puts essentials at your fingertips, so you can manage and monitor your site efficiently.
Let’s take a peak at each section and the tools it offers.
Site
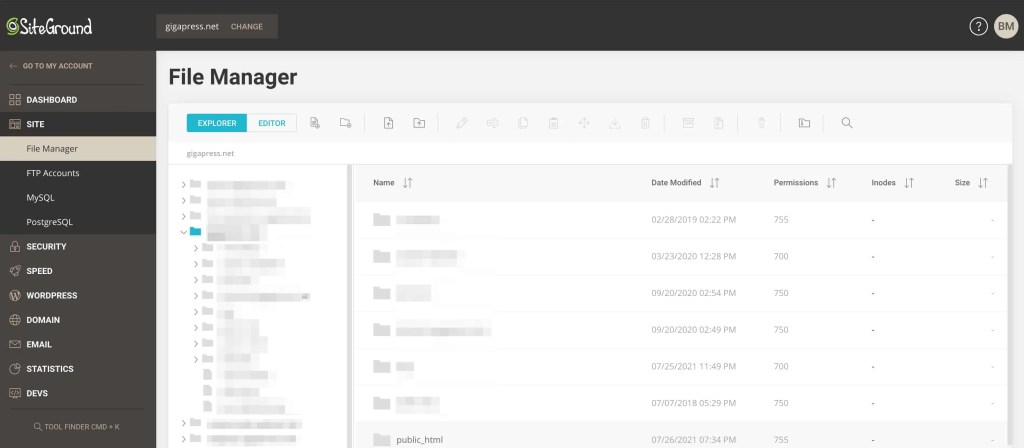
The “Site” section includes the File Manager, FTP Accounts, MySQL, and PostgreSQL. All of this should feel very familiar if you’re coming from cPanel.
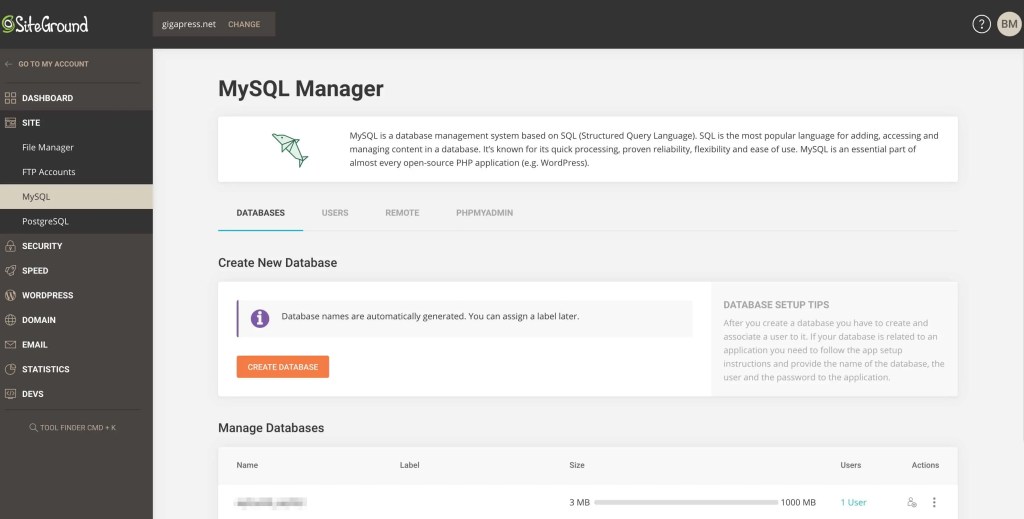
Creating databases and users with the MySQL manager is snappy and intuitive—a major step up from cPanel’s solution. You can also access phpMyAdmin to manage your databases.
Security
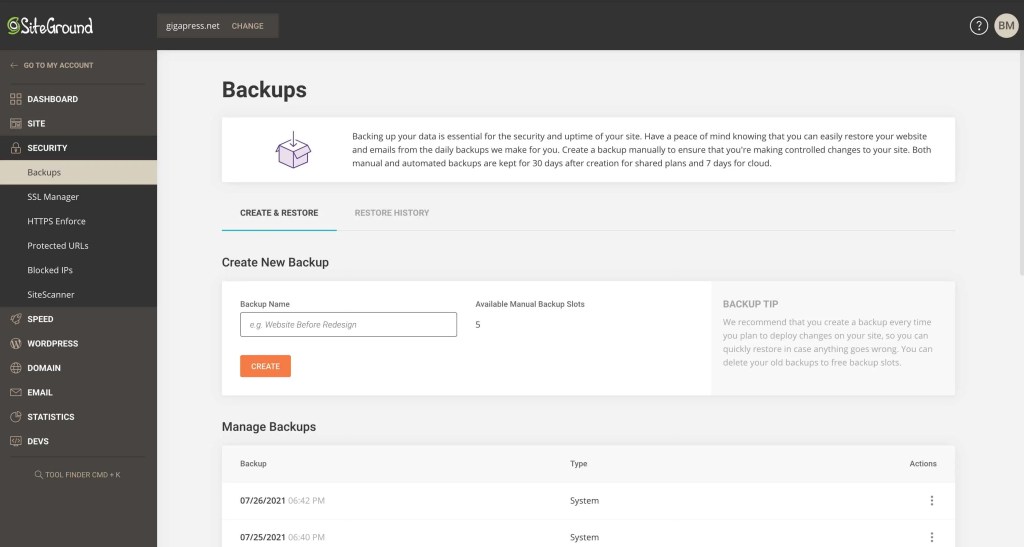
The “Security” section provides controls for all of SiteGround’s security features, including backups, SSL, HTTPS enforcement, password-protected URLs (with individual user accounts), IP blocking, and security scans via SG SiteScanner.
SiteGround conducts daily backups automatically, but you can also create a manual backup at any time using the screen above.
Speed
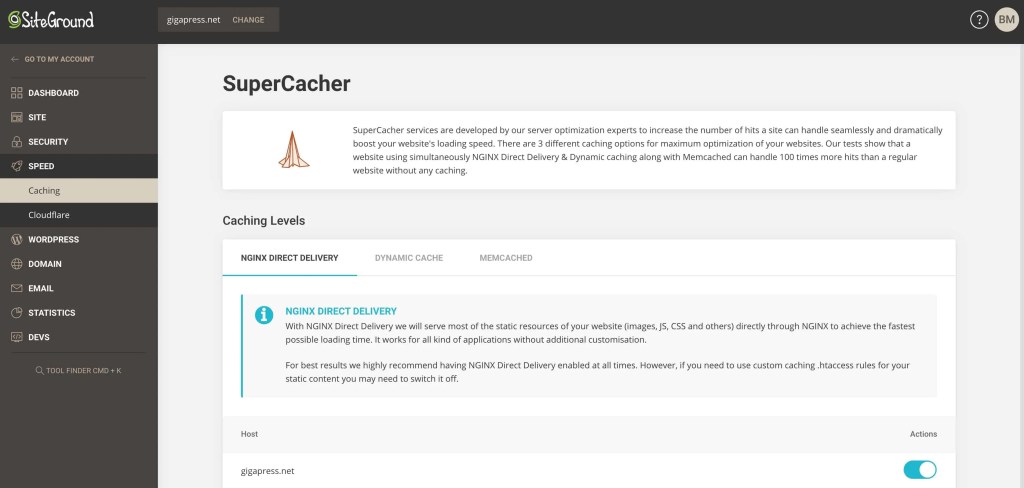
Under “Speed,” you’ll find controls for SiteGround’s SuperCacher, its proprietary caching solution, as well as Cloudflare integration.
WordPress
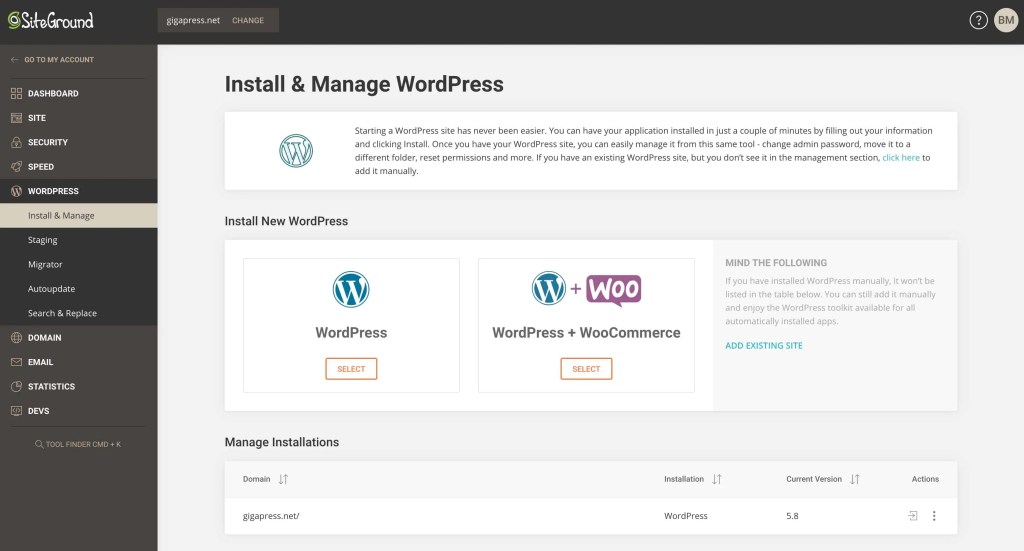
Next, we have some specialized WordPress tools, which SiteGround handles really well.
You can install WordPress (with or without WooCommerce), and manage any of your existing installations from this screen.
Other tools here include one-click staging, site migrations, autoupdates, and a Search & Replace tool.
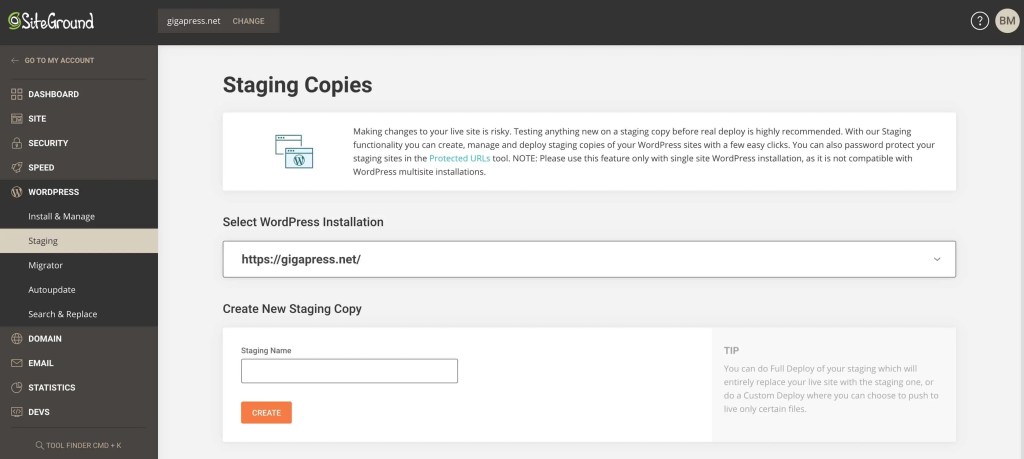
I’m a big fan of SiteGround’s staging tool, and it’s even better with this new look. There’s no excuse to make major updates on a live production site these days—it’s way too easy to create a one-click staging copy and deploy it when it’s ready.
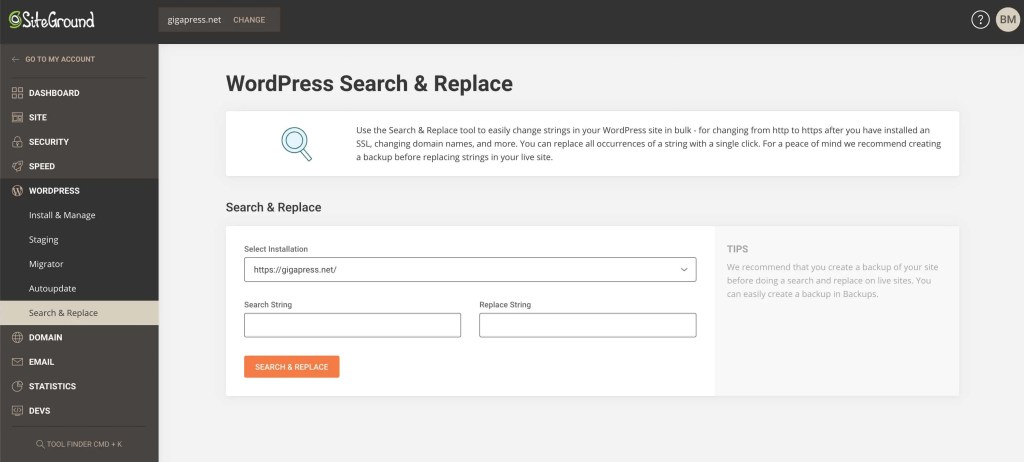
This Search & Replace tool is another great addition that allows you to quickly find and replace specific strings in bulk. This could come in handy when changing domain names or switching to HTTPS, a situation where you may need to update a large number of internal links.
Domain
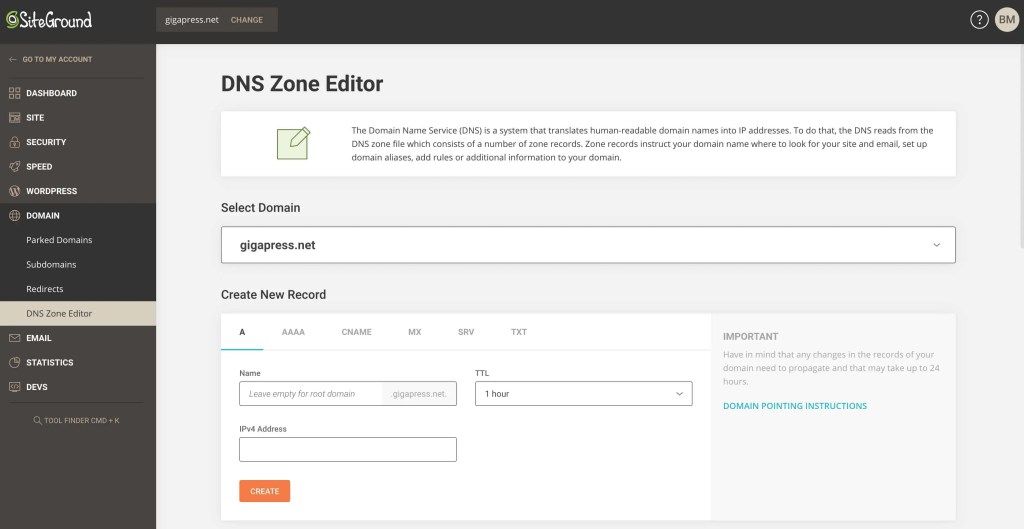
The “Domain” section is essentially identical to its cPanel counterpart, allowing you to manage parked domains, subdomains, redirects, and your DNS records.
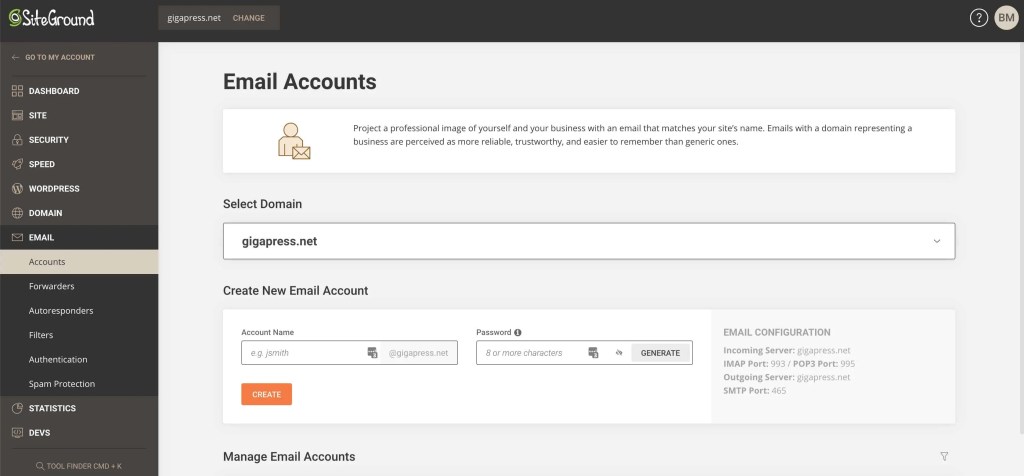
The “Email” section, as you’d expect, manages any email accounts you have hosted with SiteGround, along with autoresponders and other related tools.
Statistics
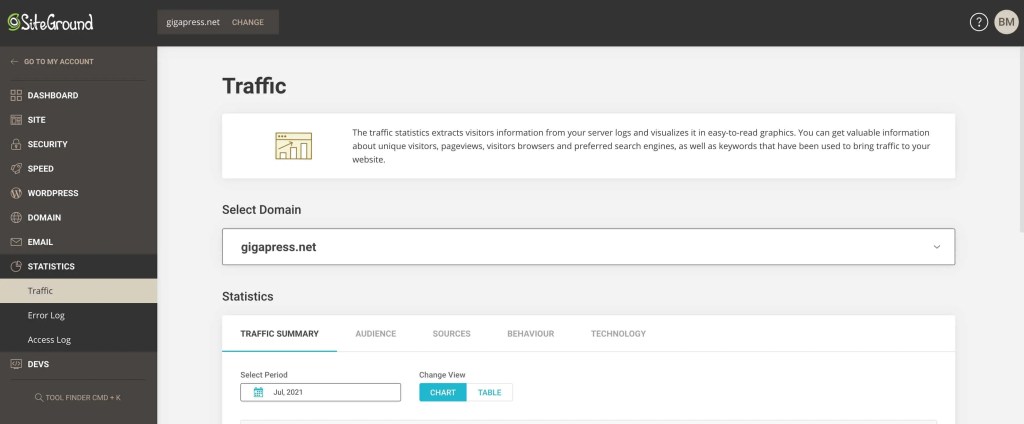
The “Statistics” tab provides a more detailed view of the traffic stats we saw on the Dashboard, along with error logs and access logs.
Of course, these traffic numbers aren’t something to rely on for performance metrics (use Google Analytics for that), as the system logs all file requests indiscriminately. However, this can be a great place to look if you’re concerned about bot traffic or things of that nature.
Devs
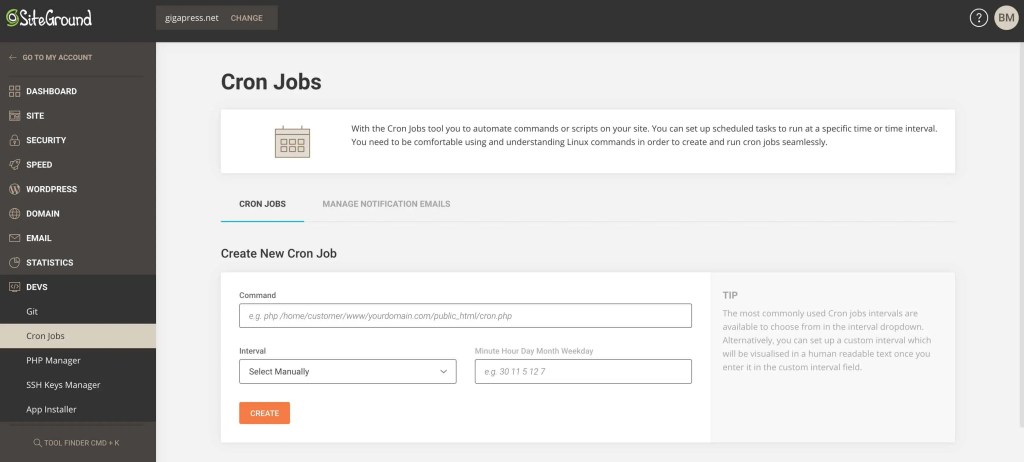
Finally, the “Devs” section provides access to Git (if you have the GoGeek plan), as well as cron jobA cron job is a time-based task scheduler in Unix-like operating systems. It allows users to schedule tasks, s… More management, a PHP manager, SSH keys, and an app installer.
How do I access the website I collaborate to?
Accessing the website you collaborate on is simple. First, navigate to the “Websites” section after you log into your main dashboard. Then, use one of these two methods:
- Select the website you want to work on and proceed to click on “Site Tools.”
- Go directly to the Site Tools by entering tools.siteground.com into your web browser’s address bar.
Final Thoughts
Overall, I’m quite impressed by SiteGround’s Site Tools control panel. It feels like a signifiant UX improvement over cPanel, while still retaining an air of familiarity and the features we’ve come to expect.
If you’d like to learn more, check out SiteGround’s technology page here (scroll to the “Client Area & Control Panel” section).
What do you think about SiteGround’s new Client Area and Site Tools? Are you a fan, or do you wish they’d have stuck with cPanel? We’d love to hear your thoughts in the commentsComments are a feature of WordPress that allow users to engage in discussions about the content of a website. … More below!