Imagine your WordPress site having a smart, responsive AI chatbot that answers visitors’ questions instantly, 24/7. That’s exactly what you can get by doing a ChatGPT WordPress integration. Whether you want intelligent customer support, a conversational FAQ assistant, or a content helper, embedding ChatGPT into WordPress is more achievable than you might expect.
In this tutorial, we’ll walk you through two main methods: a pluginA plugin is a software component that adds specific features and functionality to your WordPress website. Esse… More approach (no coding) and a manual, custom integration (more control). By the end, you’ll know how to integrate ChatGPT in WordPress—even as a beginner. Let’s dive in.
Why Integrate ChatGPT into WordPress?
Before getting into the how, let’s talk about why.
- Better user experience – Instead of static FAQs or contact forms, ChatGPT offers conversational answers, making your site feel smarter and more engaging.
- 24/7 support – The bot can handle common questions even when you’re offline.
- Lead generation & qualification – It can ask for visitor details and qualify leads before handing them off to you.
- Content assistance – In some setups, ChatGPT can help generate drafts, suggest product copy, or assist with blog ideas.
Compared to traditional chatbots, ChatGPT understands context, handles nuances, and can provide more natural answers. That’s why many site owners are eager for a ChatGPT WordPress integration.
What You Need Before Starting ChatGPT WordPress Integration
Before you start building, make sure you have:
- A WordPress site (preferably up to date).
- Access to administrative rights (to install plugins or edit code).
- An OpenAI account with API access (you’ll need an API key).
- Basic familiarity with WordPress dashboardIn WordPress, the Dashboard is a central hub for managing a website’s content and settings. It is the first sc… More navigation (install plugin, settings).
- (Optional, but helpful) A staging or test environment so you don’t break your live site during setup.
Method 1: Integrating ChatGPT via a Plugin (No Code)
If you prefer a fast, low-code approach, plugins are your best bet. Many ChatGPT WordPress integration plugins exist that wrap the complexity behind friendly UIs.
Install and Activate the Plugin
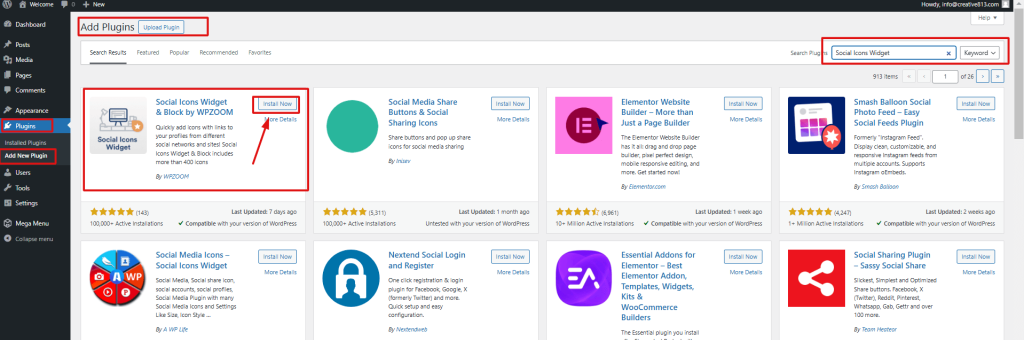
- Go to your WordPress dashboardIn WordPress, the Dashboard is a central hub for managing a website’s content and settings. It is the first sc… More → Plugins → Add New.
- Search for “ChatGPT for WordPress” or “AI Engine”.
- Click Install Now, then Activate.
- Once active, you’ll likely see a new menuIn WordPress, a menu is a collection of links that are displayed as a navigation menu on a website. Menus are … More item (e.g. “AI Chatbot”, “ChatGPT Settings”).
Popular options:
- AI Engine (lets you embed a chatbot and use AI inside the editor)
- Live Chat / Social Intents (for live chat + ChatGPT)
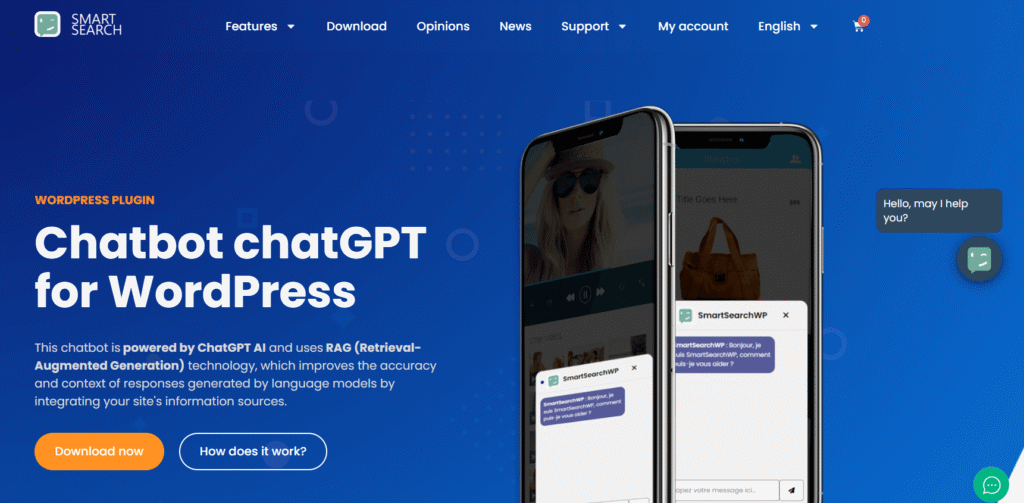
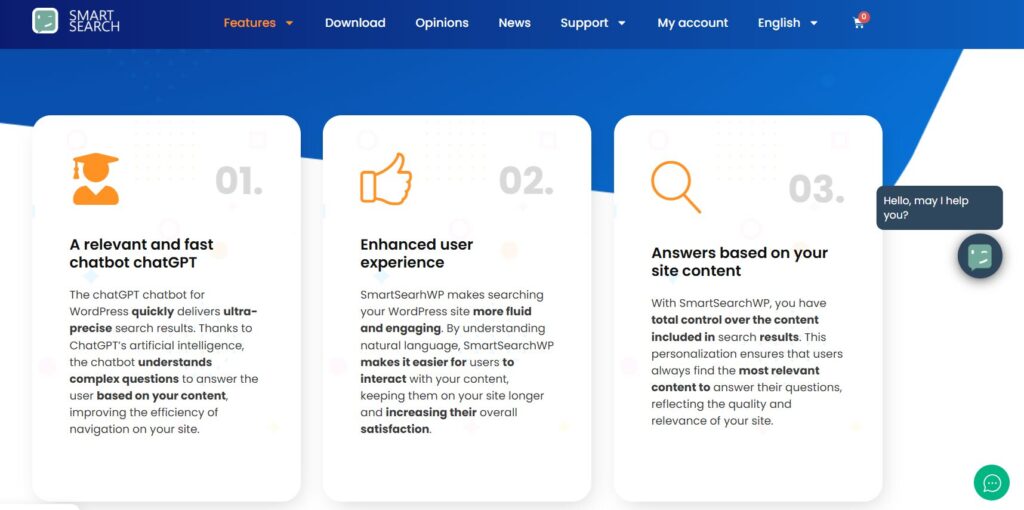
- SmartSearchWP (which integrates the OpenAI API into a chatbot on your site)
Configure the Plugin Settings
Once installed:
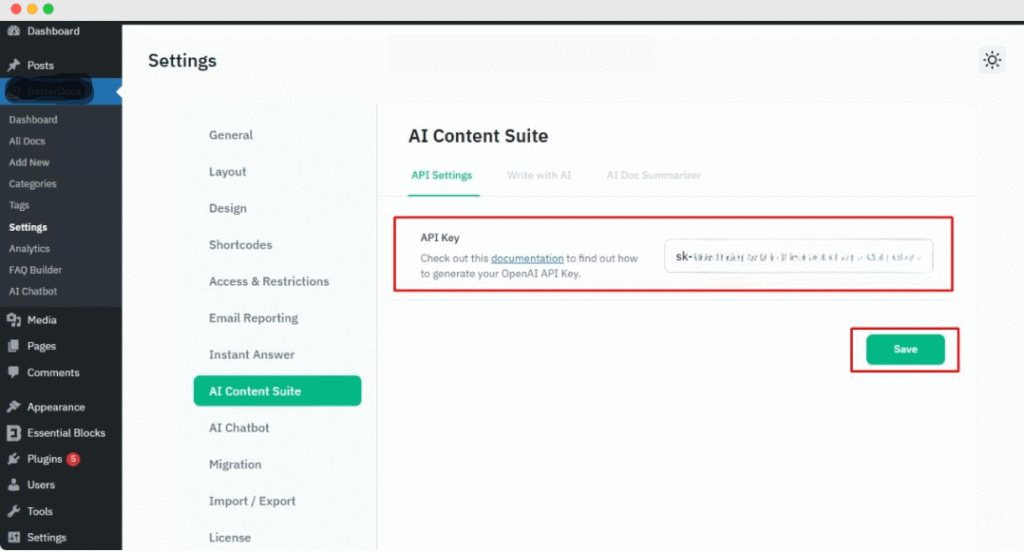
- Go to plugin settings → API / OpenAI tab → enter your OpenAI API key.
- Choose which ChatGPT model to use (e.g. gpt-3.5-turbo, or any model your plan allows).
- In settings, set the default tone, greeting message, fallback behavior (if the AI can’t answer), and escalation rules (if you want to escalate to a human).
- Save your settings.
Add the Chatbot to Your Front-End
Plugins often give you a few display options:
- WidgetA widget is a small block of content that performs a specific function and can be added to certain areas of a … More or sidebar – shows chat box in a sidebar
- ShortcodeA shortcode in WordPress is a small piece of code that allows users to perform complex functions or display dy… More – embed something like [chatgpt_bot] into a pageIn WordPress, a page is a content type that is used to create non-dynamic pages on a website. Pages are typica… More or postA post is a type of content in WordPress, a popular open-source content management system used for creating an… More
- Floating popup – a chat widget that floats at the bottom right
- Full page or modal mode
Pick the mode you want, test it on desktop & mobile, and adjust the appearance (colors, avatar, text) to match your branding. Many plugins allow you to hide or show it on specific pagesIn WordPress, a page is a content type that is used to create non-dynamic pages on a website. Pages are typica… More (e.g. hide on login pages).
That’s it—once set, visitors on your site can interact with the ChatGPT-powered chatbot.
Method 2: Manual (Custom) Integration Using OpenAI API
For more control, or if you want to build a custom chatbot rather than rely on plugin features, manual integration is the way to go. You’ll write a bit of code, but you gain full flexibility.
Get Your OpenAI API Key
- Log in to OpenAI’s platform.
- Go to API Keys → Create a new secret key.
- Securely store this key—do not expose it in public-facing JavaScript.
You may wish to set usage limits in OpenAI billing settings to avoid unexpected costs.
Add Backend Logic (PHP) to Call ChatGPT
You need a server-side endpoint to talk to OpenAI, so your API key isn’t exposed to users. Usually this is done via:
- A custom plugin or
- Your functions.php (for simple cases)
Here’s a simplified example in PHP:
add_action('wp_ajax_send_chatgpt', 'my_send_chatgpt');
add_action('wp_ajax_nopriv_send_chatgpt', 'my_send_chatgpt');

function my_send_chatgpt() {
    $user_message = sanitize_text_field($_POST['message']);
    $api_key = 'YOUR_OPENAI_API_KEY';

    $body = [
        'model' => 'gpt-3.5-turbo',
        'messages' => [
            [ 'role' => 'user', 'content' => $user_message ]
        ]
    ];

    $response = wp_remote_post('https://api.openai.com/v1/chat/completions', [
        'headers' => [
            'Authorization' => 'Bearer ' . $api_key,
            'Content-Type' => 'application/json'
        ],
        'body' => json_encode($body),
        'timeout' => 30,
    ]);

    if ( is_wp_error($response) ) {
        wp_send_json_error('API error');
    } else {
        $json = json_decode(wp_remote_retrieve_body($response), true);
        $reply = $json['choices'][0]['message']['content'] ?? 'Sorry, no answer.';
        wp_send_json_success($reply);
    }
}
This code handles AJAX calls, sends the user message to OpenAI, and returns ChatGPT’s result.
Build the Front-End Chat UI (HTML / CSS / JS)
You’ll need a simple chat interface in your pages. For example:
<div id="chat-box">
  <div id="chat-output"></div>
  <input type="text" id="chat-input" placeholder="Ask me something…" />
  <button id="chat-send">Send</button>
</div>
Then in JS (using jQuery or vanilla JS), send the message:
document.getElementById('chat-send').addEventListener('click', function(){
  const msg = document.getElementById('chat-input').value;
  fetch(ajaxurl, {
    method: 'POST',
    headers: { 'Content-Type': 'application/x-www-form-urlencoded' },
    body: 'action=send_chatgpt&message=' + encodeURIComponent(msg)
  })
  .then(r => r.json())
  .then(data => {
     const out = document.getElementById('chat-output');
     if (data.success) out.innerHTML += '<div class="bot">' + data.data + '</div>';
     else out.innerHTML += '<div class="bot">Error: ' + data.data + '</div>';
  });
});
You may also want to handle “Enter” key, reset input, scroll output, etc.
Secure & Optimize
- Never put API key in client code. Always use server endpoints.
- Rate-limit & validate inputs to avoid abuse.
- Cache common responses or fallback messages in case OpenAI is slow.
- Throttle large messages or sentence length to avoid cost blowups.
This manual route gives you full control over design, flow, and integration with other systems like CRM, databasesA database is an organized collection of data stored and accessed electronically. It is a crucial component of… More, or logging.
Best Practices When Using ChatGPT in WordPress
To make your ChatGPT WordPress integration safe, efficient, and user-friendly, here are some guidelines:
Content Moderation & Safety
Don’t allow the bot to generate inappropriate content. Use filters or integrate OpenAI moderation APIs. Also, limit how far a conversation can go before human handoff.
Hide or Rotate the API Key
Store your API key in WordPress configuration (e.g. wp-config.php) or environment variables rather than hardcoding. Use proper roles and capabilities so only trusted users can change it.
Provide Guidance to Users
Let users know what the bot can and can’t do (e.g. “I can answer FAQs about our services, but can’t give legal advice”). That sets correct expectations.
Use Short Prompts & System Messages
Set up a “system” message as your bot’s identity and scope. For example:
“You are SupportBot. You alias ask clarifying questions if user is unclear. You should not claim you are human.”
It helps keep consistency and avoids hallucinations.
Monitor Usage & Rate Limits
Track how much you’re calling the API (costs can escalate). Use logs or dashboards to watch for spikes. Set usage caps in OpenAI billing to avoid surprises.
Provide Fallbacks
If the API fails, degrade gracefully. Display a message like “I’m sorry, I’m having trouble right now—please try again later or contact us directly.”
Use Cases & Real-World Examples You Can Try
Here are ideas you can use or show your audience:
- eCommerce assistant – Users ask “What’s the best laptop for X?” and your ChatGPT suggests products.
- Content writer helper – Integrate ChatGPT in the WordPress editor (some plugins do this) to help generate drafts or outlines.
- FAQ helper – Instead of a static FAQ page, the chatbot dynamically answers and then links to relevant articles.
- Support triage – First-level support: collect issue details, then route to human staff if needed.
- Lead capture & qualification – Chatbot asks for name, email, what they’re interested in, then stores the lead or sends email.
For example, Social Intents’ ChatGPT plugin supports human escalation, fallback to agents, and uses a live chat model. SmartSearchWP’s plugin can embed your content (pages, postsA post is a type of content in WordPress, a popular open-source content management system used for creating an… More) into the chatbot’s “context” so it answers specifically about your site.
Troubleshooting Common ChatGPT WordPress Integration Issues
- “No response” or timeout – Increase your AJAX / HTTP timeout, or check that OpenAI endpoint is reachable.
- Malformed request error – Make sure your JSON format and headers are correct (Content‑Type, Authorization).
- Cost too high – Use shorter prompts, limit conversation length, or cache repeated queries.
- Slow performance – Optimize by using caching, queuing, or fallback messages.
- Bot answers irrelevant content – Adjust system messages (instructions) or filter content via embeddings.
- Chat widget not showing on mobile – Check your CSS media queries or plugin settings for display rules.
Conclusion & Next Steps for Your ChatGPT WordPress Integration
Congratulations — you now have a full picture of how to integrate ChatGPT into your WordPress site. Whether you choose the plugin route (fast, minimal coding) or the custom route (flexible, powerful), both paths can give you a dynamic AI chatbot that interacts naturally with your visitors.
If you’re just starting, I recommend trying the plugin method first. Once you’re comfortable, you can try custom integration to tailor it to your brand. Over time, monitor how users interact, refine the prompts, and improve your system messages.
Looking to supercharge your site with ChatGPT WordPress integration but don’t want the hassle of maintenance or slow performance?
If you’re looking for fast WordPress hosting as well as done-for-you updates, check out our hosting packages by clicking the button below. Let us handle the tech — so you can focus on growing your AI-powered website.