Finding new ways to increase conversion rates can be a challenge. If you don’t have a clear strategy to engage your visitors, you likely won’t be able to grow your website.

Fortunately, a well-crafted landing page can help you boost conversions. Creating a single, streamlined page can encourage user engagement and ultimately lead your visitors to take action, whether that involves making a purchase or signing up for your newsletter.
In this article, we’ll explain what a landing page is and when you might use one. Then, we’ll show you how to create one in WordPress, using a page builder. Let’s get started!
An Introduction to Landing Pages
A landing page is a self-contained web page that users are directed to after clicking on an advertisement, a link, or a Call To Action (CTA) button. Typically, its purpose is to promote a product, service, or offer.
This page may include elements such as:
- Attention-grabbing headlines
- Product descriptions
- Images or videos
- A strong CTA, like a “buy now” button
Take a look at this example by Canva, which mixes all of these ingredients to provide an effective landing page:
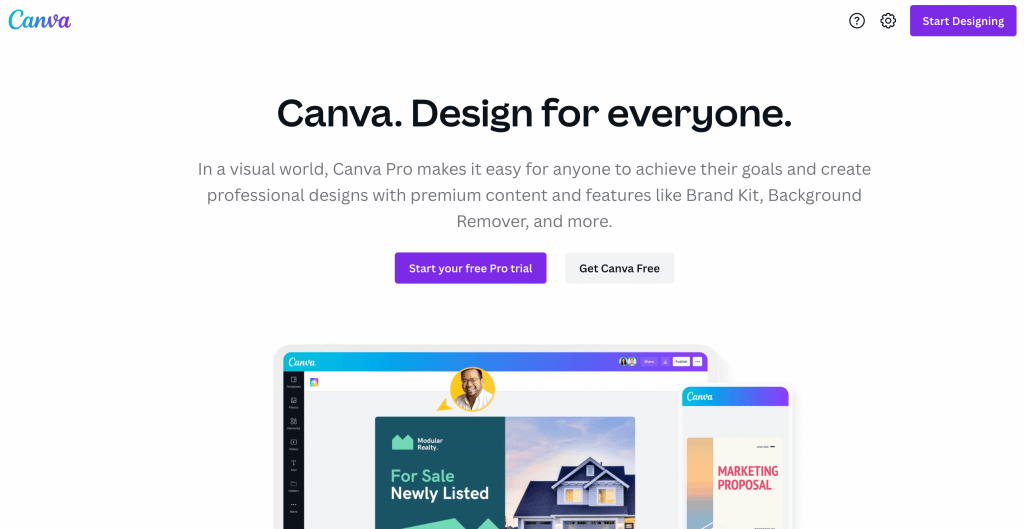
Most businesses utilize landing pagesIn WordPress, a page is a content type that is used to create non-dynamic pages on a website. Pages are typica… More to make more sales. Conversion rates for these types of pages are typically higher because they are targeted to an audience that is already interested in the product or service. Ultimately, a landing page can help you turn visitors into customers.
Why You Might Consider Using a Landing Page for Your WordPress Site
Landing pages are used to help you achieve a specific goal. For example, you might use them to:
- Grow your email list
- Announce a special offer
- Promote a service or event
- Educate your audience about a particular topic
Furthermore, landing pages can be an effective way to get your audience to perform a specific action. For example, this Sunbasket landing page draws visitors in by offering a discount in exchange for personal information:

The Continue button at the bottom serves as the CTA. Once users enter their personal data, they’ll receive the promised discount.
In short, an effective landing page will prompt visitors to take action. This can help boost your conversion rates and increase your sales.
How to Create a Powerful Landing Page in WordPress (In 3 Steps)
Now that you know what a landing page is and how it can benefit your website, it’s time to look at how you can create one. For this tutorial, we will be using the Elementor page builder:
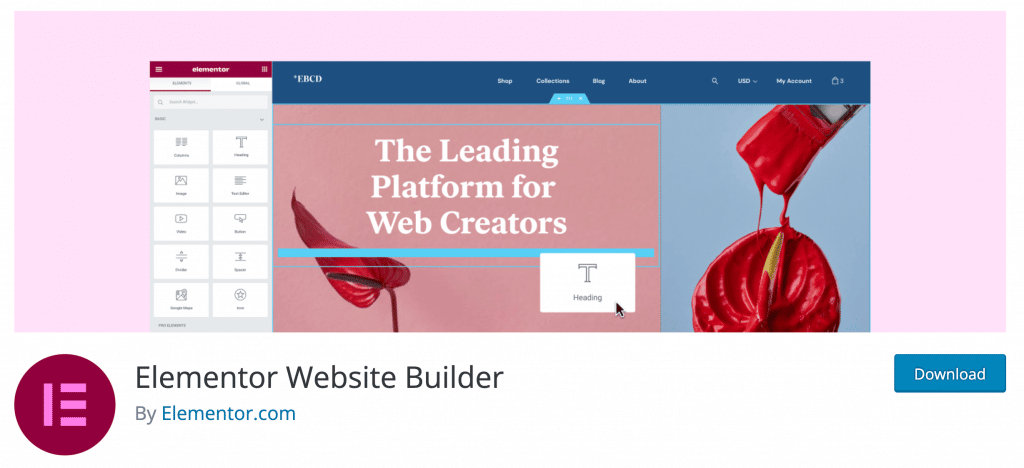
The free version of this tool provides plenty of pre-made templates that you can use to create a high-converting landing page. If you upgrade to a Pro account, you’ll get access to more designs.
Step 1: Create a New Landing Page
After you’ve downloaded and activated Elementor on your site, navigate to Templates > Landing Pages and click on the Add New Landing Page button:
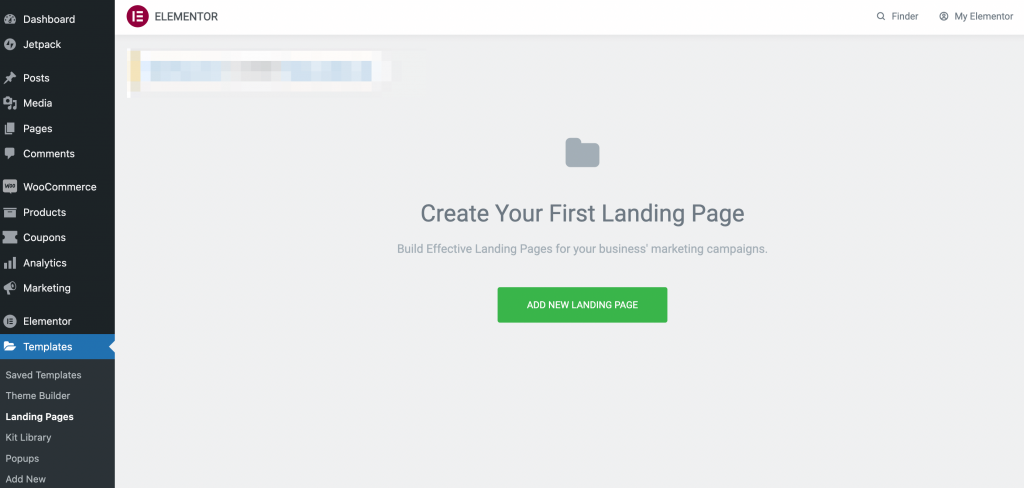
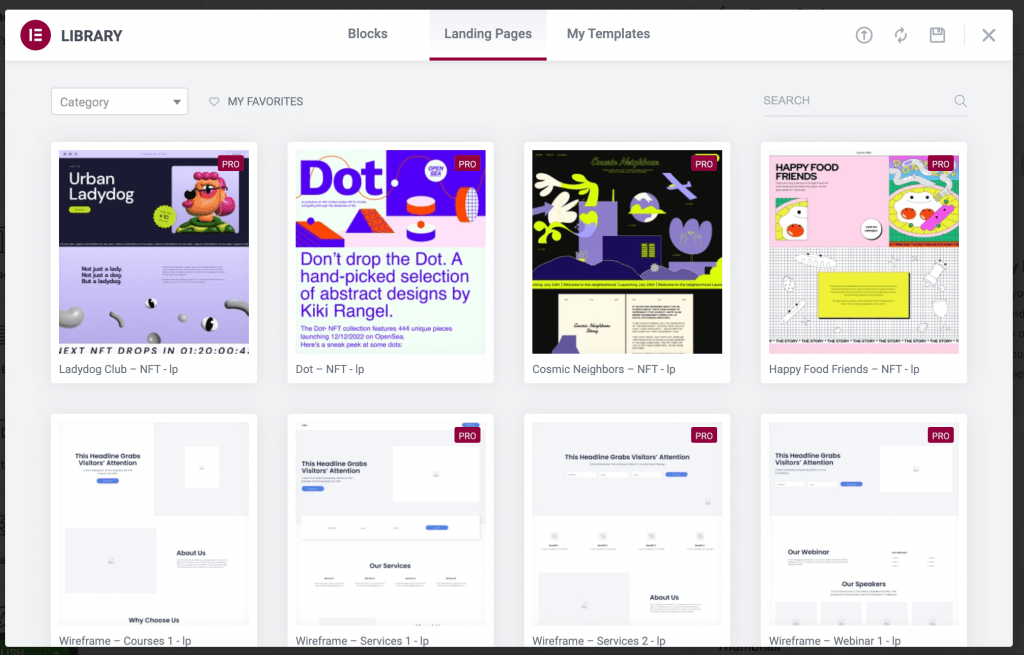
This will open up a library of templates. Many of these require a Pro account, but there are some free options as well:
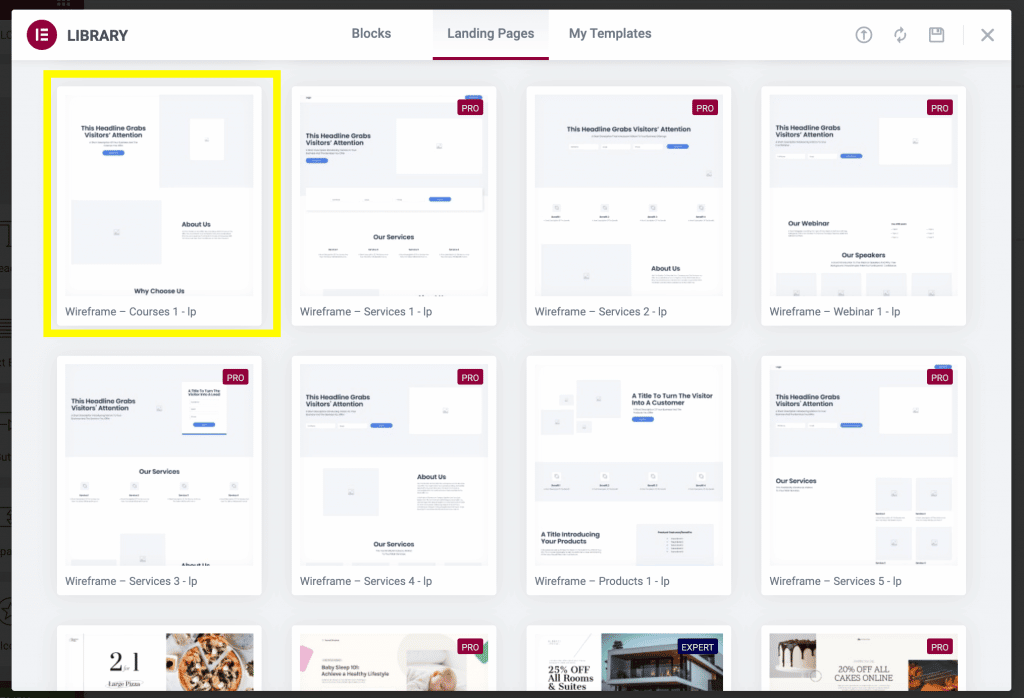
Choose the one that best suits your needs. For example, the Courses 1 template is great if you’re promoting an online class:
You also have the option to design your page from scratch. We’ll be using the Products 1 template for this tutorial:
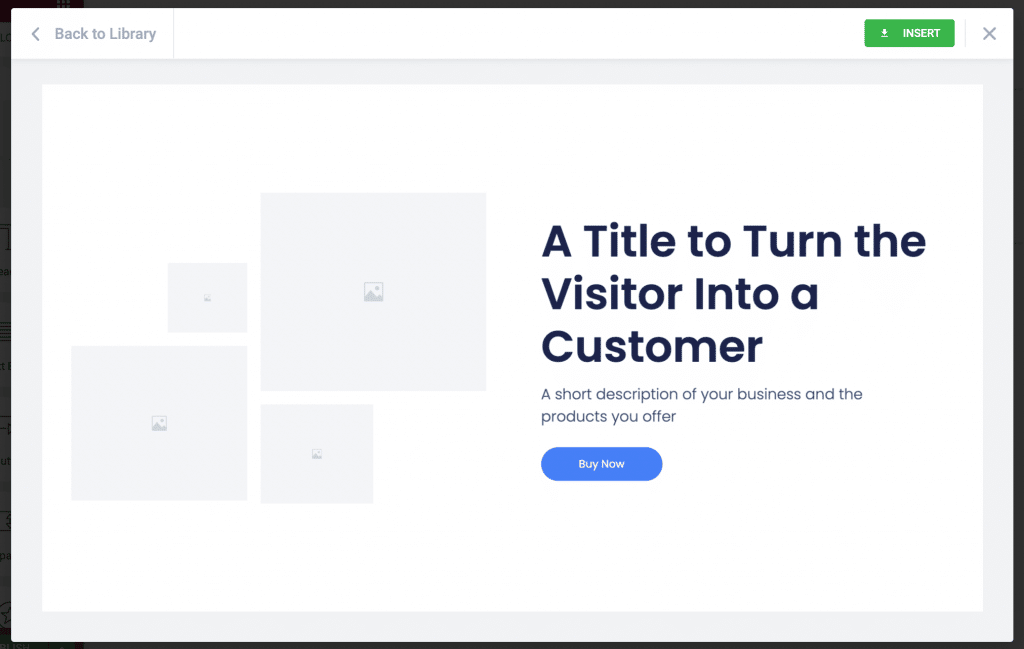
Once you’ve selected a template, you can click on the Insert button to get started.
Step 2: Customize Your Landing Page
Elementor enables you to edit different aspects of your landing page. This includes text, colors, fonts, images, and more.
The pre-made templates include the most important elements. For example, Products 1 has placeholders for images, titles, and a CTA button:
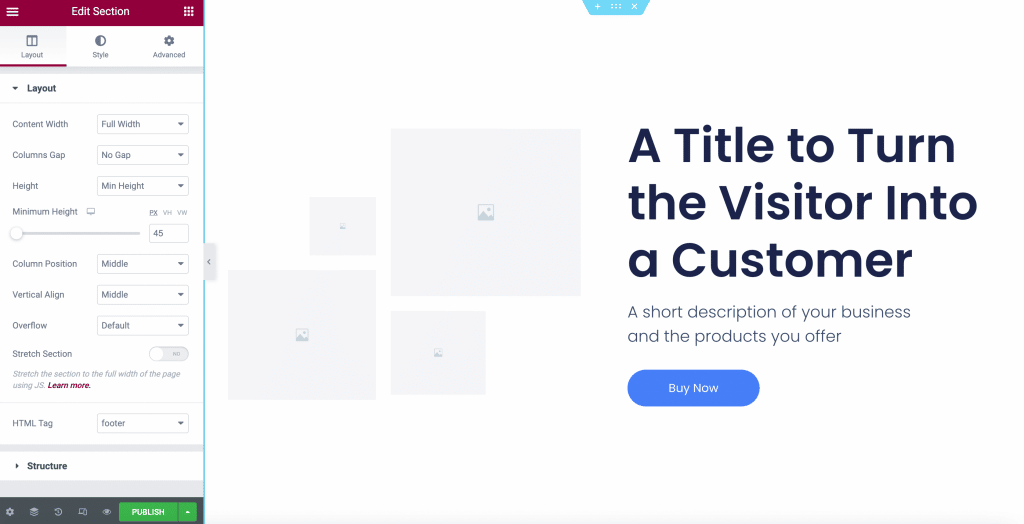
Start by editing your header. This should be an eye-catching title for the product or service you’re promoting:
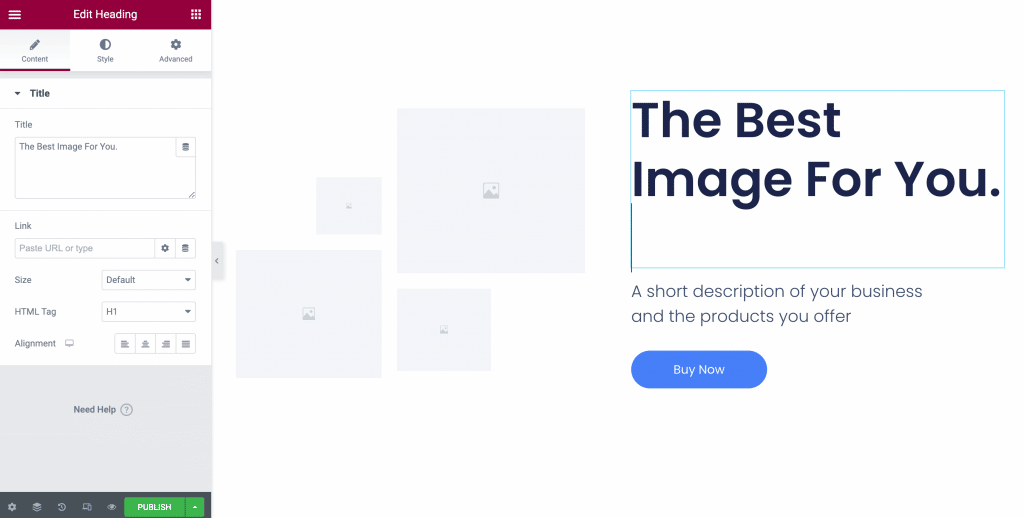
After selecting an element, you’ll be able to make modifications in the sidebar. For your header, you can add a URL that will take users to your homepage (or any other site):
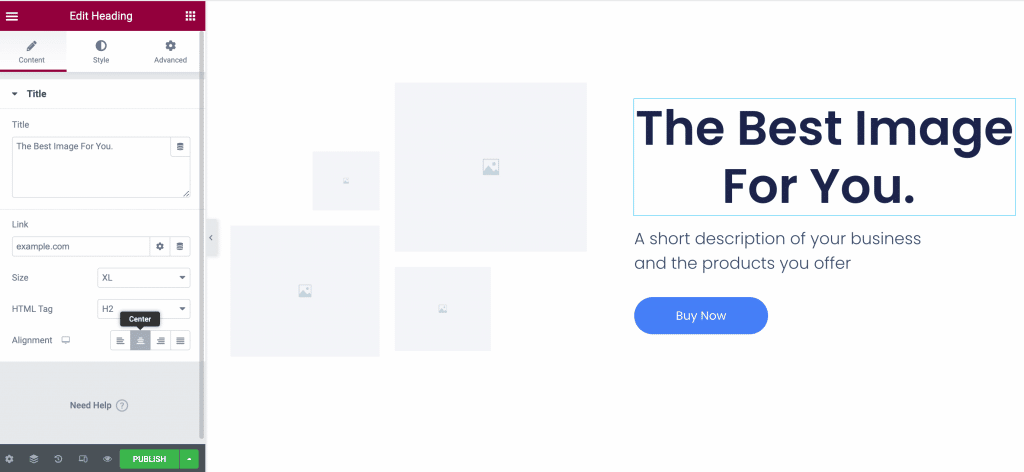
You can also change the size, HTML tagIn WordPress, tags are a taxonomy used to classify and organize posts. They are similar to categories, but unl… More, and alignment of the text. Additionally, you might want to add a description of your product or service in the text box below your header.
Next, let’s look at the CTA button. This serves as the bridge between users and the end goal. You can change the text and other visual elements from the Content tab in the editor panel:
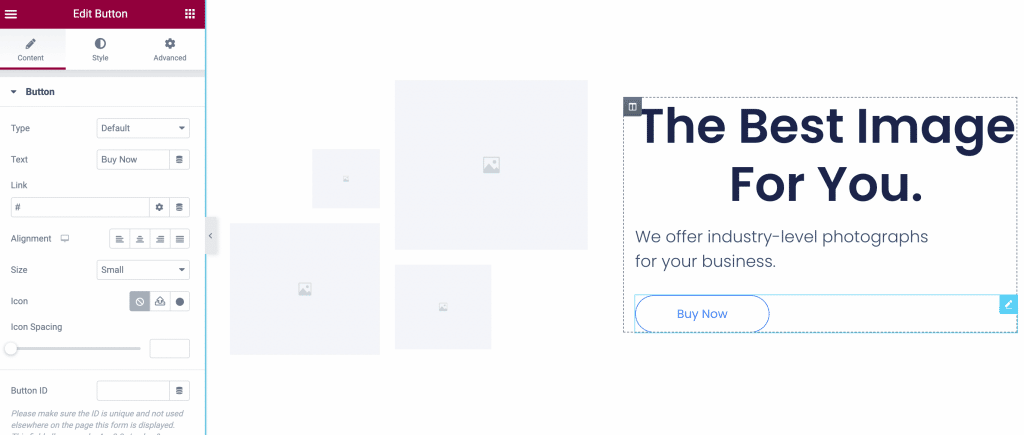
If you click on the Style tab, you’ll be able to further customize your button’s design:
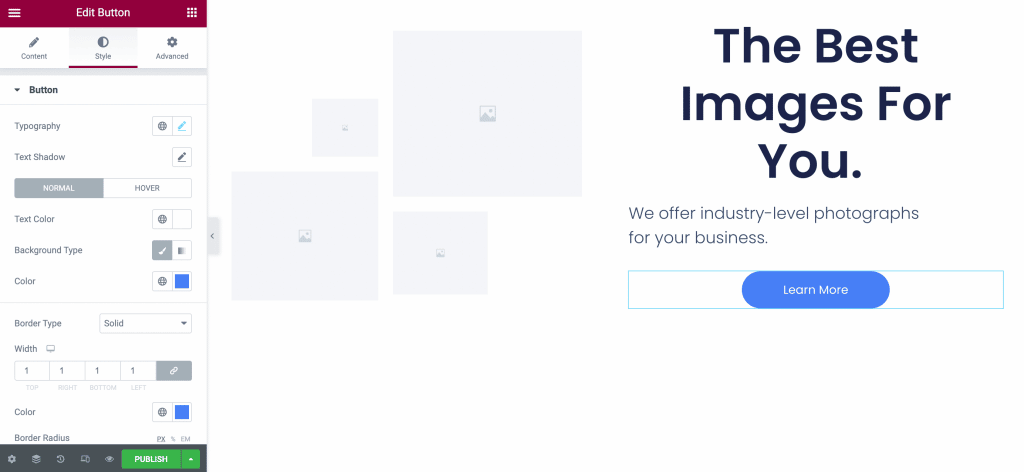
For example, you can change the font in the Typography section:
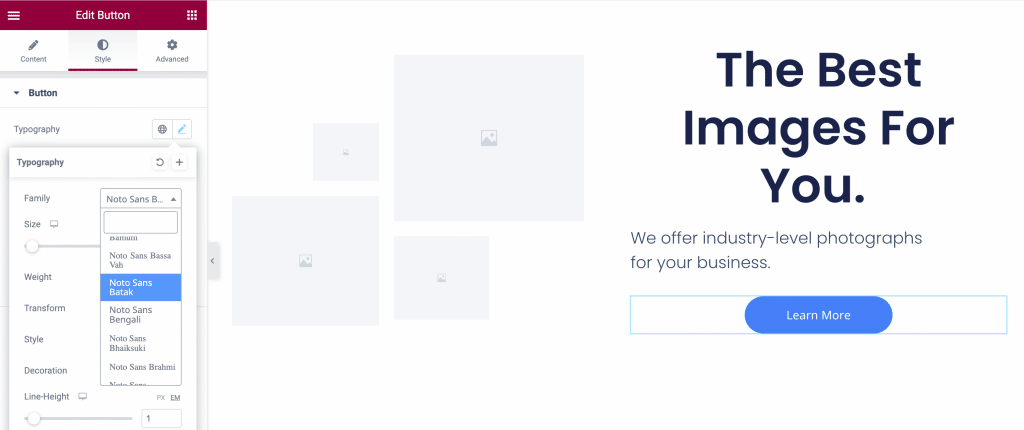
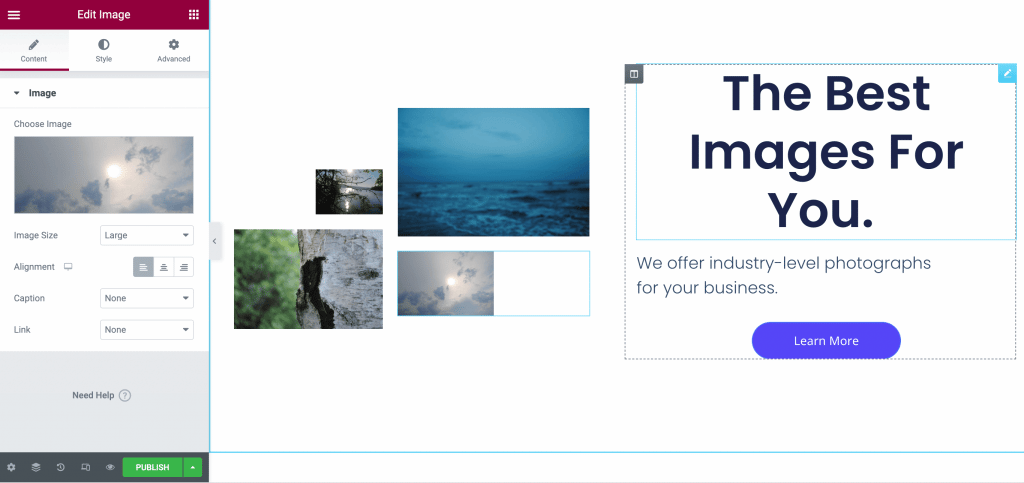
This landing page template also lets you insert high-quality photos. Simply click on the image placeholder to upload your media:
In the following section, you can list the benefits of your product:
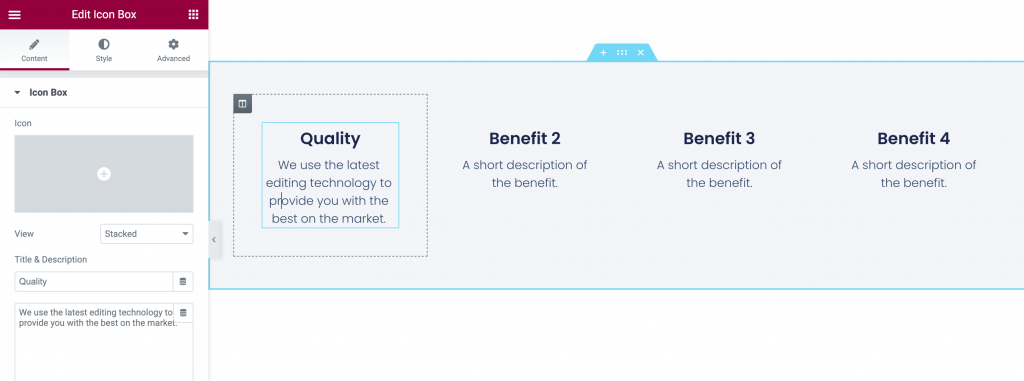
Next, you can elaborate on each feature or benefit. Again, you can further tinker with the design under the Content and Style tabs:
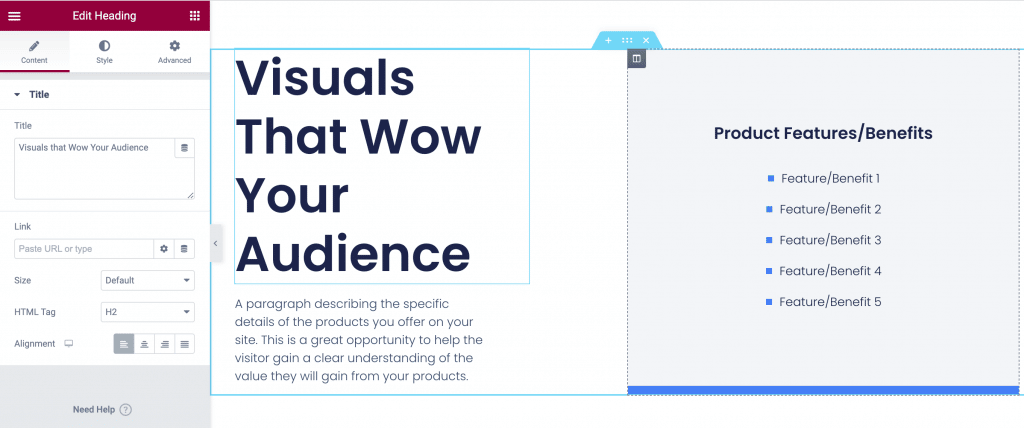
Next is the client testimonials section, which can help persuade users to purchase your product. You can swap the text and images with quotes and photos from your own clients:
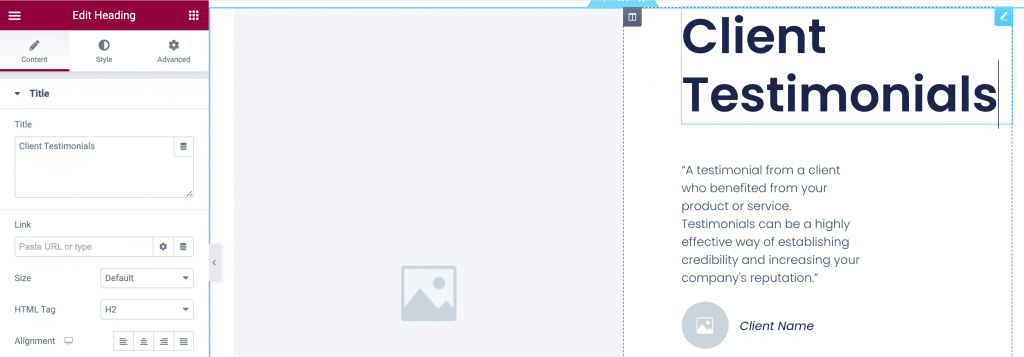
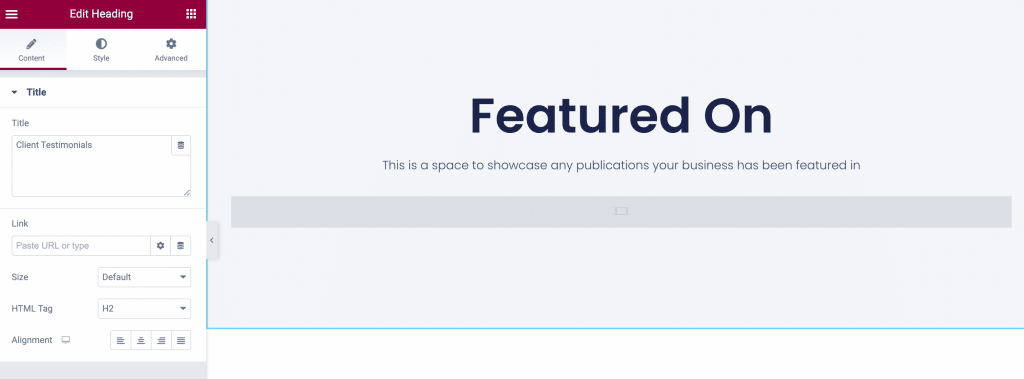
This template also comes with a Featured On section, where you can showcase publications that your brand has been featured on:
Finally, we have the CTA again. This will remind users to take action before leaving the page:
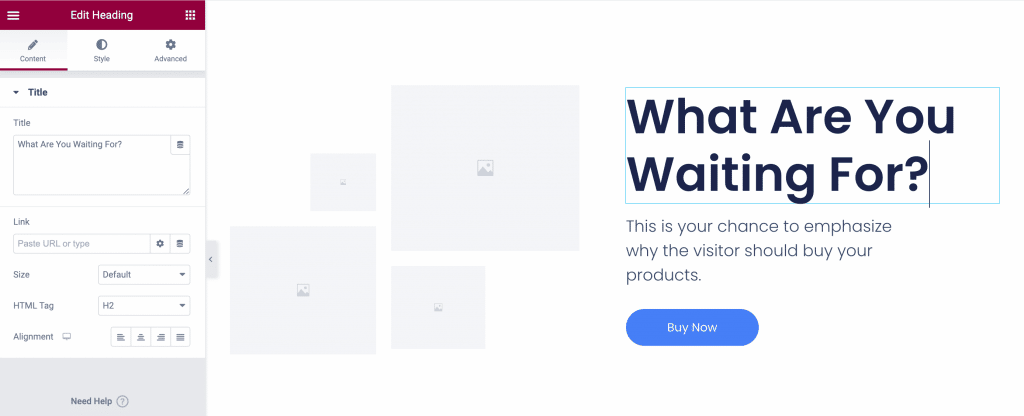
Again, you can customize this section to suit your needs. There are other important elements you can add to your landing page, including reviews and a contact form. However, some of these features are only available with Elementor Pro.
Step 3: Preview and Finish Your Page
Once you’ve finished customizing your landing page, you’ll probably want to look at your final result before publishing. To do so, simply click on the eye icon at the bottom of the editor panel:
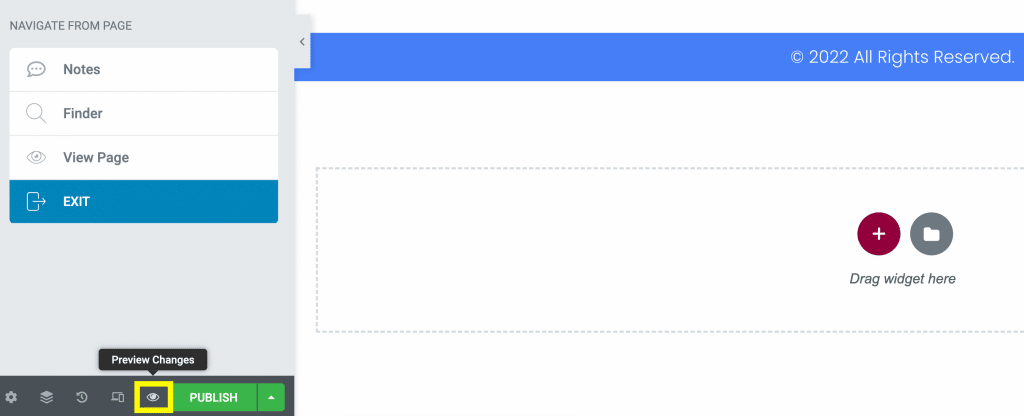
This will take you to the front end, where you can interact with the page as though you were a visitor:

It’s important that you test all elements before publishing, including forms, buttons, and links. This way, you can make sure everything is working properly before launching your page.
Once you’re done, navigate back to the editor and click on Publish. Your landing page is now live!
Conclusion
Whether you have a blog or a small business website, getting your audience to take action can be challenging. A landing page provides a direct way to engage your visitors. This can help you increase conversions and grow your website.
To summarize, here’s how to create a powerful landing page in WordPress, using Elementor:
- Select a landing page template.
- Customize important elements, like the CTA button and header.
- Preview and publish your page.
Do you have any questions about creating a landing page in WordPress? Let us know in the commentsComments are a feature of WordPress that allow users to engage in discussions about the content of a website. … More section below!


![How to Underline in WordPress [A Complete Guide]](https://codingheros.com/wp-content/uploads/2024/12/how-to-underline-in-wordpress-a-complete-guide-768x277.png)
