Is your WordPress site still showing “Not Secure”? If so, you need to install an SSL certificate in WordPress. It is to protect your site and give visitors confidence that their data is safe. Securing your WordPress site with an SSL certificate is essential in today’s web environment. Not only does it encrypt sensitive data. But it also boosts your SEO rankings and assures visitors that your site is safe.
In this beginner-friendly guide, we’ll walk you through everything you need to know. About installing an SSL certificate in WordPress. From understanding what SSL is to making sure it’s working. Different ways to install an SSL certificate in WordPress using different methods. And provide extra security tips along the way.
Let’s get started!
What is an SSL Certificate and Why Do You Need It?
First things first—what exactly is an SSL certificate? SSL stands for Secure Sockets Layer. It’s a security protocol that encrypts the data between a user’s browser and your website. It ensures that sensitive information (like passwords or credit card details) stays private when visitors interact with your site.
But SSL isn’t just about security anymore—it’s about trust and SEO too. Google prioritizes websites with HTTPS over those with HTTP. Which means installing an SSL certificate can help boost your site’s ranking. Plus, visitors are more likely to trust a site with the secure padlock icon in the address bar.
So, installing an SSL certificate isn’t an option; it’s a necessity in today’s web world.
Different Types of SSL Certificates
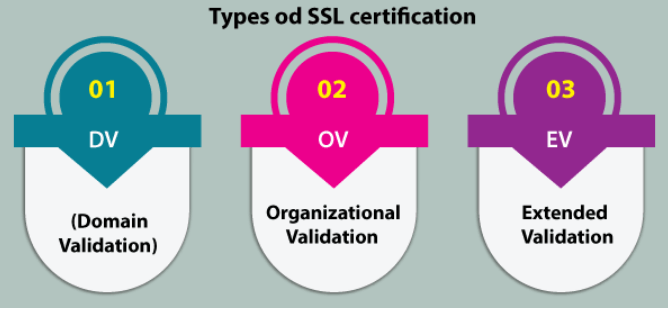
Before you start, it’s important to understand the different types of SSL certificates. Here are the main ones you might encounter:
- Domain Validated (DV) SSL: Perfect for small websites and blogs, it’s the easiest and quickest type to get.
- Organization Validated (OV) SSL: This offers more trust since it requires the organization to be verified.
- Extended Validation (EV) SSL: The highest level of trust, often used by e-commerce sites, giving that green bar with the company name.
For most WordPress sites, especially if you’re just starting out. A free Domain Validated (DV) SSL certificate (like Let’s Encrypt) will do the trick. But if you’re running an online store, you might want to look into an OV or EV certificate for added trust.
What Do You Need to Install an SSL Certificate in WordPress?
Before jumping into the installation process, there are a few things you’ll need:
- An SSL Certificate: You can get a free one via Let’s Encrypt or buy a premium certificate from your hosting provider.
- Web Hosting Access: You’ll need access to your hosting dashboard, cPanel, or FTP account.
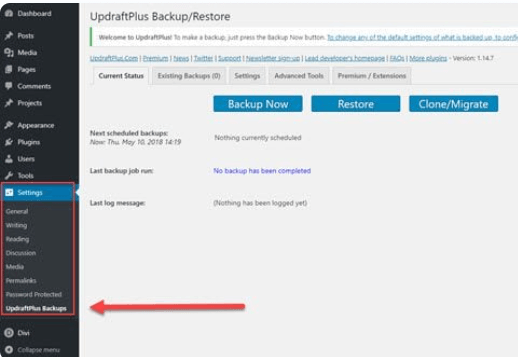
- A Backup of Your Site: Before you install an SSL certificate in WordPress, it’s crucial to back up your website to avoid any potential issues. We recommend using UPDRAFTPLUS to easily create a full backup before making any significant changes.
Once you have these ready, you’re good to go!
How to Get an SSL Certificate
There are two main ways to get an SSL certificate for your WordPress site:
Option 1: Free SSL Certificates (Let’s Encrypt)
Let’s Encrypt is the most popular free SSL provider. Most hosting companies offer a one-click Let’s Encrypt SSL installation. Which makes it easy for beginners.

Option 2: Paid SSL Certificates
If you run a business or e-commerce site. You may want a paid SSL certificate for more security features and trust indicators. Many web hosts offer premium SSL certificates as well.
Whichever you choose, the installation steps are similar. So let’s get started with how to install it.
How to Install an SSL Certificate in WordPress Using a PluginA plugin is a software component that adds specific features and functionality to your WordPress website. Esse… More
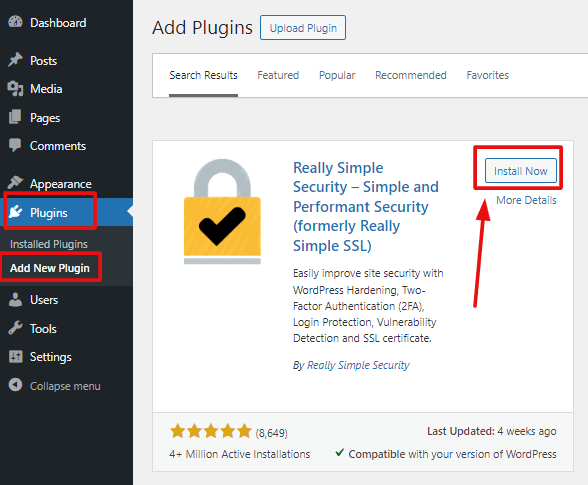
The easiest way for beginners to install an SSL certificate is through a WordPress plugin like Really Simple SSL. Here’s how:
- Install the Plugin: Go to your WordPress dashboardIn WordPress, the Dashboard is a central hub for managing a website’s content and settings. It is the first sc… More, click on Plugins > Add New, and search for Really Simple SSL. Install and activate it.
- Activate SSL: Once the plugin is activated, go to the plugin settings and click on “Activate SSL”.
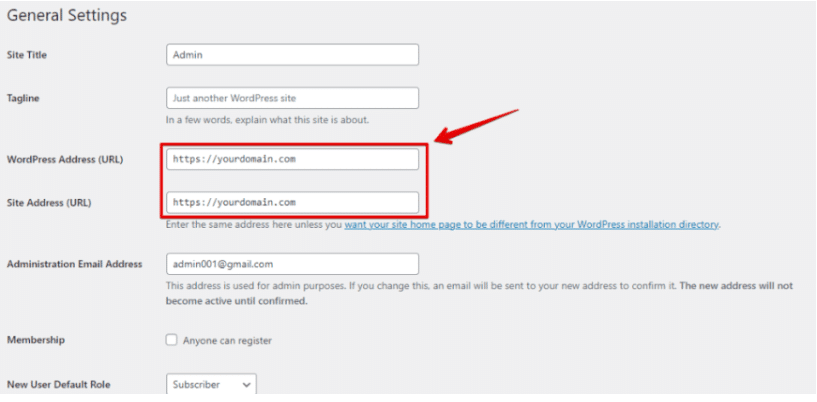
- Update Site URLs: The plugin will update your site URLs from HTTP to HTTPS.
Using a plugin simplifies the entire process. As it also handles HTTP-to-HTTPS redirects and mixed content warnings automatically.
How to Install an SSL Certificate in WordPress Using a Web Host
Most web hosts offer one-click SSL certificate installations. Here’s how to install an SSL certificate using your hosting provider’s dashboard:
- Log into Your Hosting Account: Navigate to your host’s control panel.
- Find the SSL/TLS Section: In the control panel, look for the Security or SSL/TLS section.
- Select the Domain: Choose the domain for which you want to enable SSL.
- Activate SSL: Click on the “Install SSL” or “Enable Let’s Encrypt SSL” option (depending on your host).
Once the SSL is activated, verify the installation by visiting your site with https:// in the URL.
How to Install an SSL Certificate in WordPress Manually (Using cPanel)
If your hosting provider doesn’t offer one-click SSL installation. You can manually install the SSL certificate through cPanel:
- Log into cPanel: Access your hosting control panel and locate cPanel.
- Find the SSL/TLS Section: Scroll down to the Security section and click on SSL/TLS.
- Generate CSR (Certificate Signing Request): If required, generate a CSR and submit it to your SSL provider.
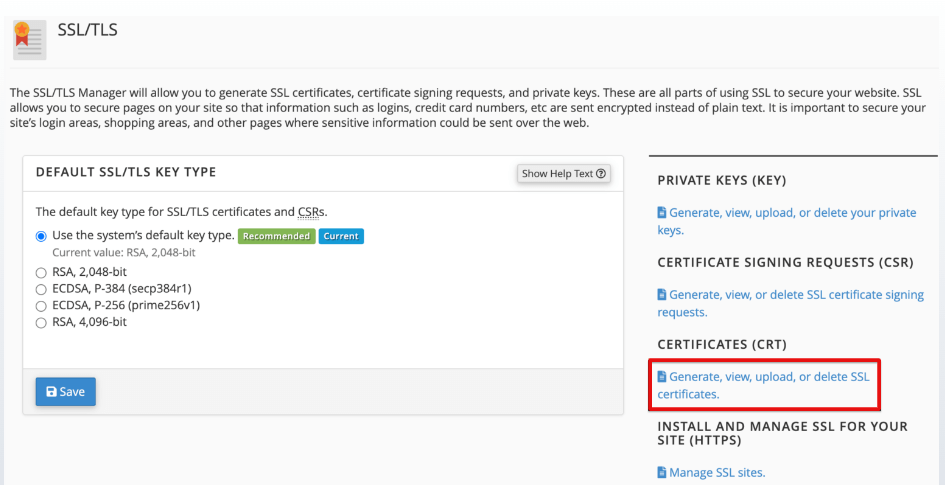
- Install SSL: After receiving your SSL certificate from the provider. Go back to cPanel > SSL/TLS and select “Manage SSL Sites”.
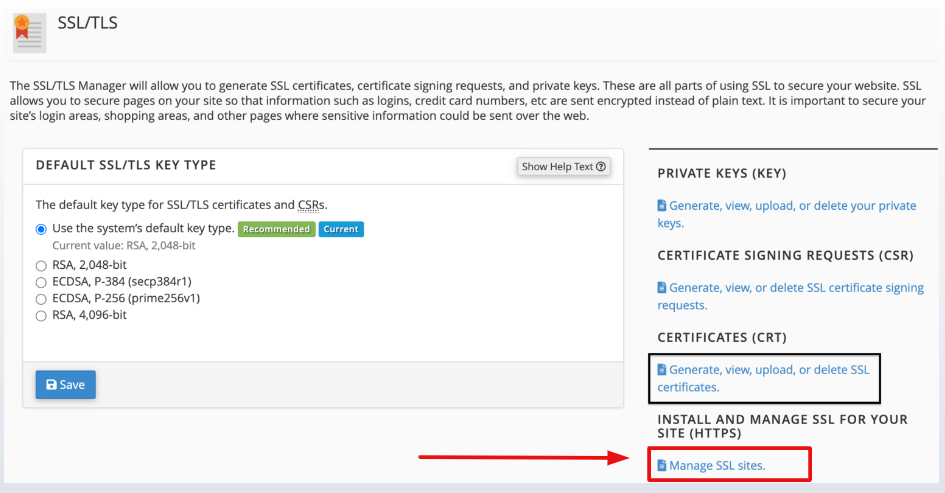
- Paste the Certificate Files: Copy and paste the provided certificate files into the respective fields (CRT, private key, and CA bundle).
Once installed, visit your site to confirm the SSL certificate is working.
How to Add an SSL Certificate to WordPress via Web Server
If you’re using a VPS or dedicated hosting, you might need to install your SSL certificate on your web server (e.g., Apache or Nginx). Here’s how to do it:
- Obtain SSL Certificate: Get your SSL certificate files from the certificate authority (CA).
- Connect to Your Server: Use an SSH client to access your server.
- Install the SSL Certificate:
- For Apache: Update your configuration file (/etc/apache2/sites-available/yourdomain.conf) by adding the paths to the SSL certificate files.
- For Nginx: Modify the Nginx configuration file to point to the certificate and key files.
- Restart the Web Server: Apply the changes by restarting Apache (sudo service apache2 restart) or Nginx (sudo service nginx restart).
Ensure the certificate is properly installed by visiting your site using HTTPS.
What to Do After Installing an SSL Certificate in WordPress?
After installing your SSL certificate. There are a few critical steps you should take to ensure everything works out fine:
- Force HTTPS: Redirect all traffic from HTTP to HTTPS. You can use a plugin like Really Simple SSL or add a redirect in your .htaccess file.
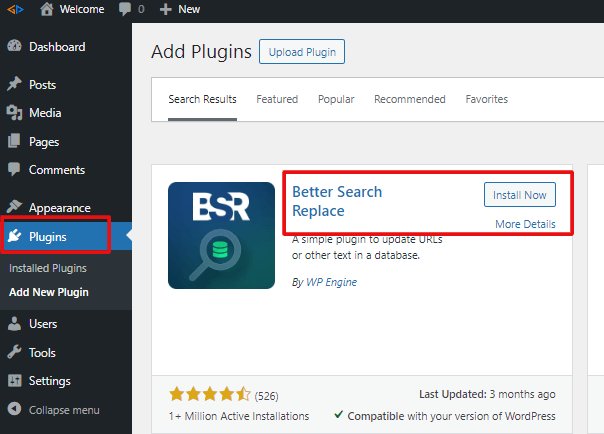
- Update Internal Links: Ensure that all internal links on your site point to HTTPS versions. Plugins like Better Search Replace can help automate this process.
- Check for Mixed Content Warnings: If your site loads any resources (e.g., images or scripts) over HTTP. You’ll get a mixed content warning. Use Really Simple SSL or manually update these links.
Troubleshooting Your WordPress Site’s SSL Installation
Even after following all the steps, you might encounter some issues. Here are common problems and how to fix them:
- Mixed Content Warnings: Ensure all resources (images, CSS, scripts) are being loaded via HTTPS. You can use the SSL Insecure Content Fixer plugin to resolve this issue.
- SSL Certificate Not Trusted: This can happen if the certificate is not installed correctly or not issued by a trusted authority. Double-check the installation process or reach out to your hosting provider.
- Too Many Redirects Error: This happens when your redirects are not set up in a right way. You may need to adjust your .htaccess file or clear any conflicting redirect rules in plugins.
Additional Security Measures to Protect Your WordPress Site
Installing an SSL certificate is a great start. But there are steps you can take to secure your WordPress site:
- Use Strong Passwords: Ensure all users on your site are using strong passwords.
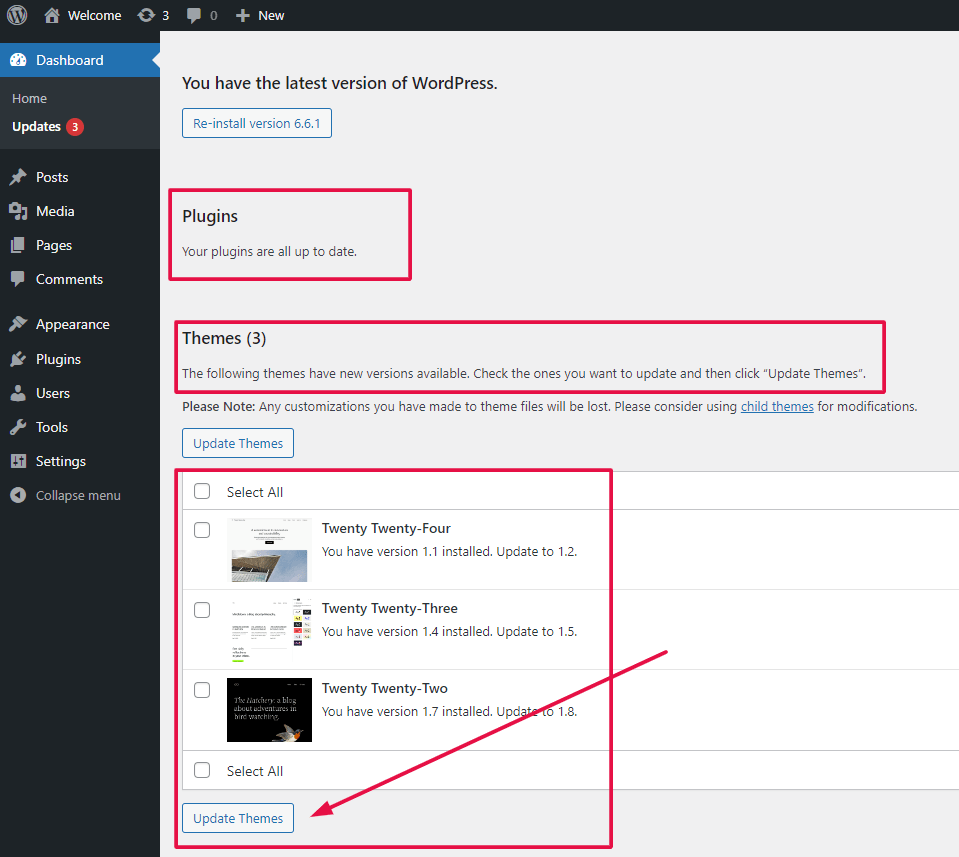
- Keep Plugins and ThemesA WordPress theme is a set of files that determine the design and layout of a website. It controls everything … More Updated: Outdated plugins and themes can create vulnerabilities. So keep everything updated.
- Use a Security Plugin: Plugins like Wordfence or Sucuri can help you check your site for security threats.
- Enable Two-Factor Authentication (2FA): Add an extra layer of security by enabling two-factor authentication for login.
How to Check if SSL is Working Properly
Once you’ve set everything up, it’s time to make sure the SSL is working fine. You can:
- Look for the padlock icon in your browser’s address bar.

- Use a tool like SSL Labs or SSL Checker to scan your site and ensure everything is working fine.
If you see the green padlock, congratulations—your site is now secure!
Conclusion
By following this guide, you’ve installed an SSL certificate on your WordPress site and enhanced its security. Whether you choose to use a plugin, your web host’s tools, or manual installation methods. Having HTTPS will not only protect your visitors but also improve your SEO rankings.
Remember, installing an SSL certificate is the first step. Regular maintenance, monitoring, and implementing security measures. It will ensure that your WordPress site remains secure and trustworthy.
If you’re ready to install an SSL certificate in WordPress. And need fast WordPress hosting with hassle-free theme updates, we’ve got you covered. Check out our hosting packages by clicking the button below: